
50 posts tagged with "editor"

View All Tags

Build WebGPU Apps Today with PlayCanvas

· 3 min read

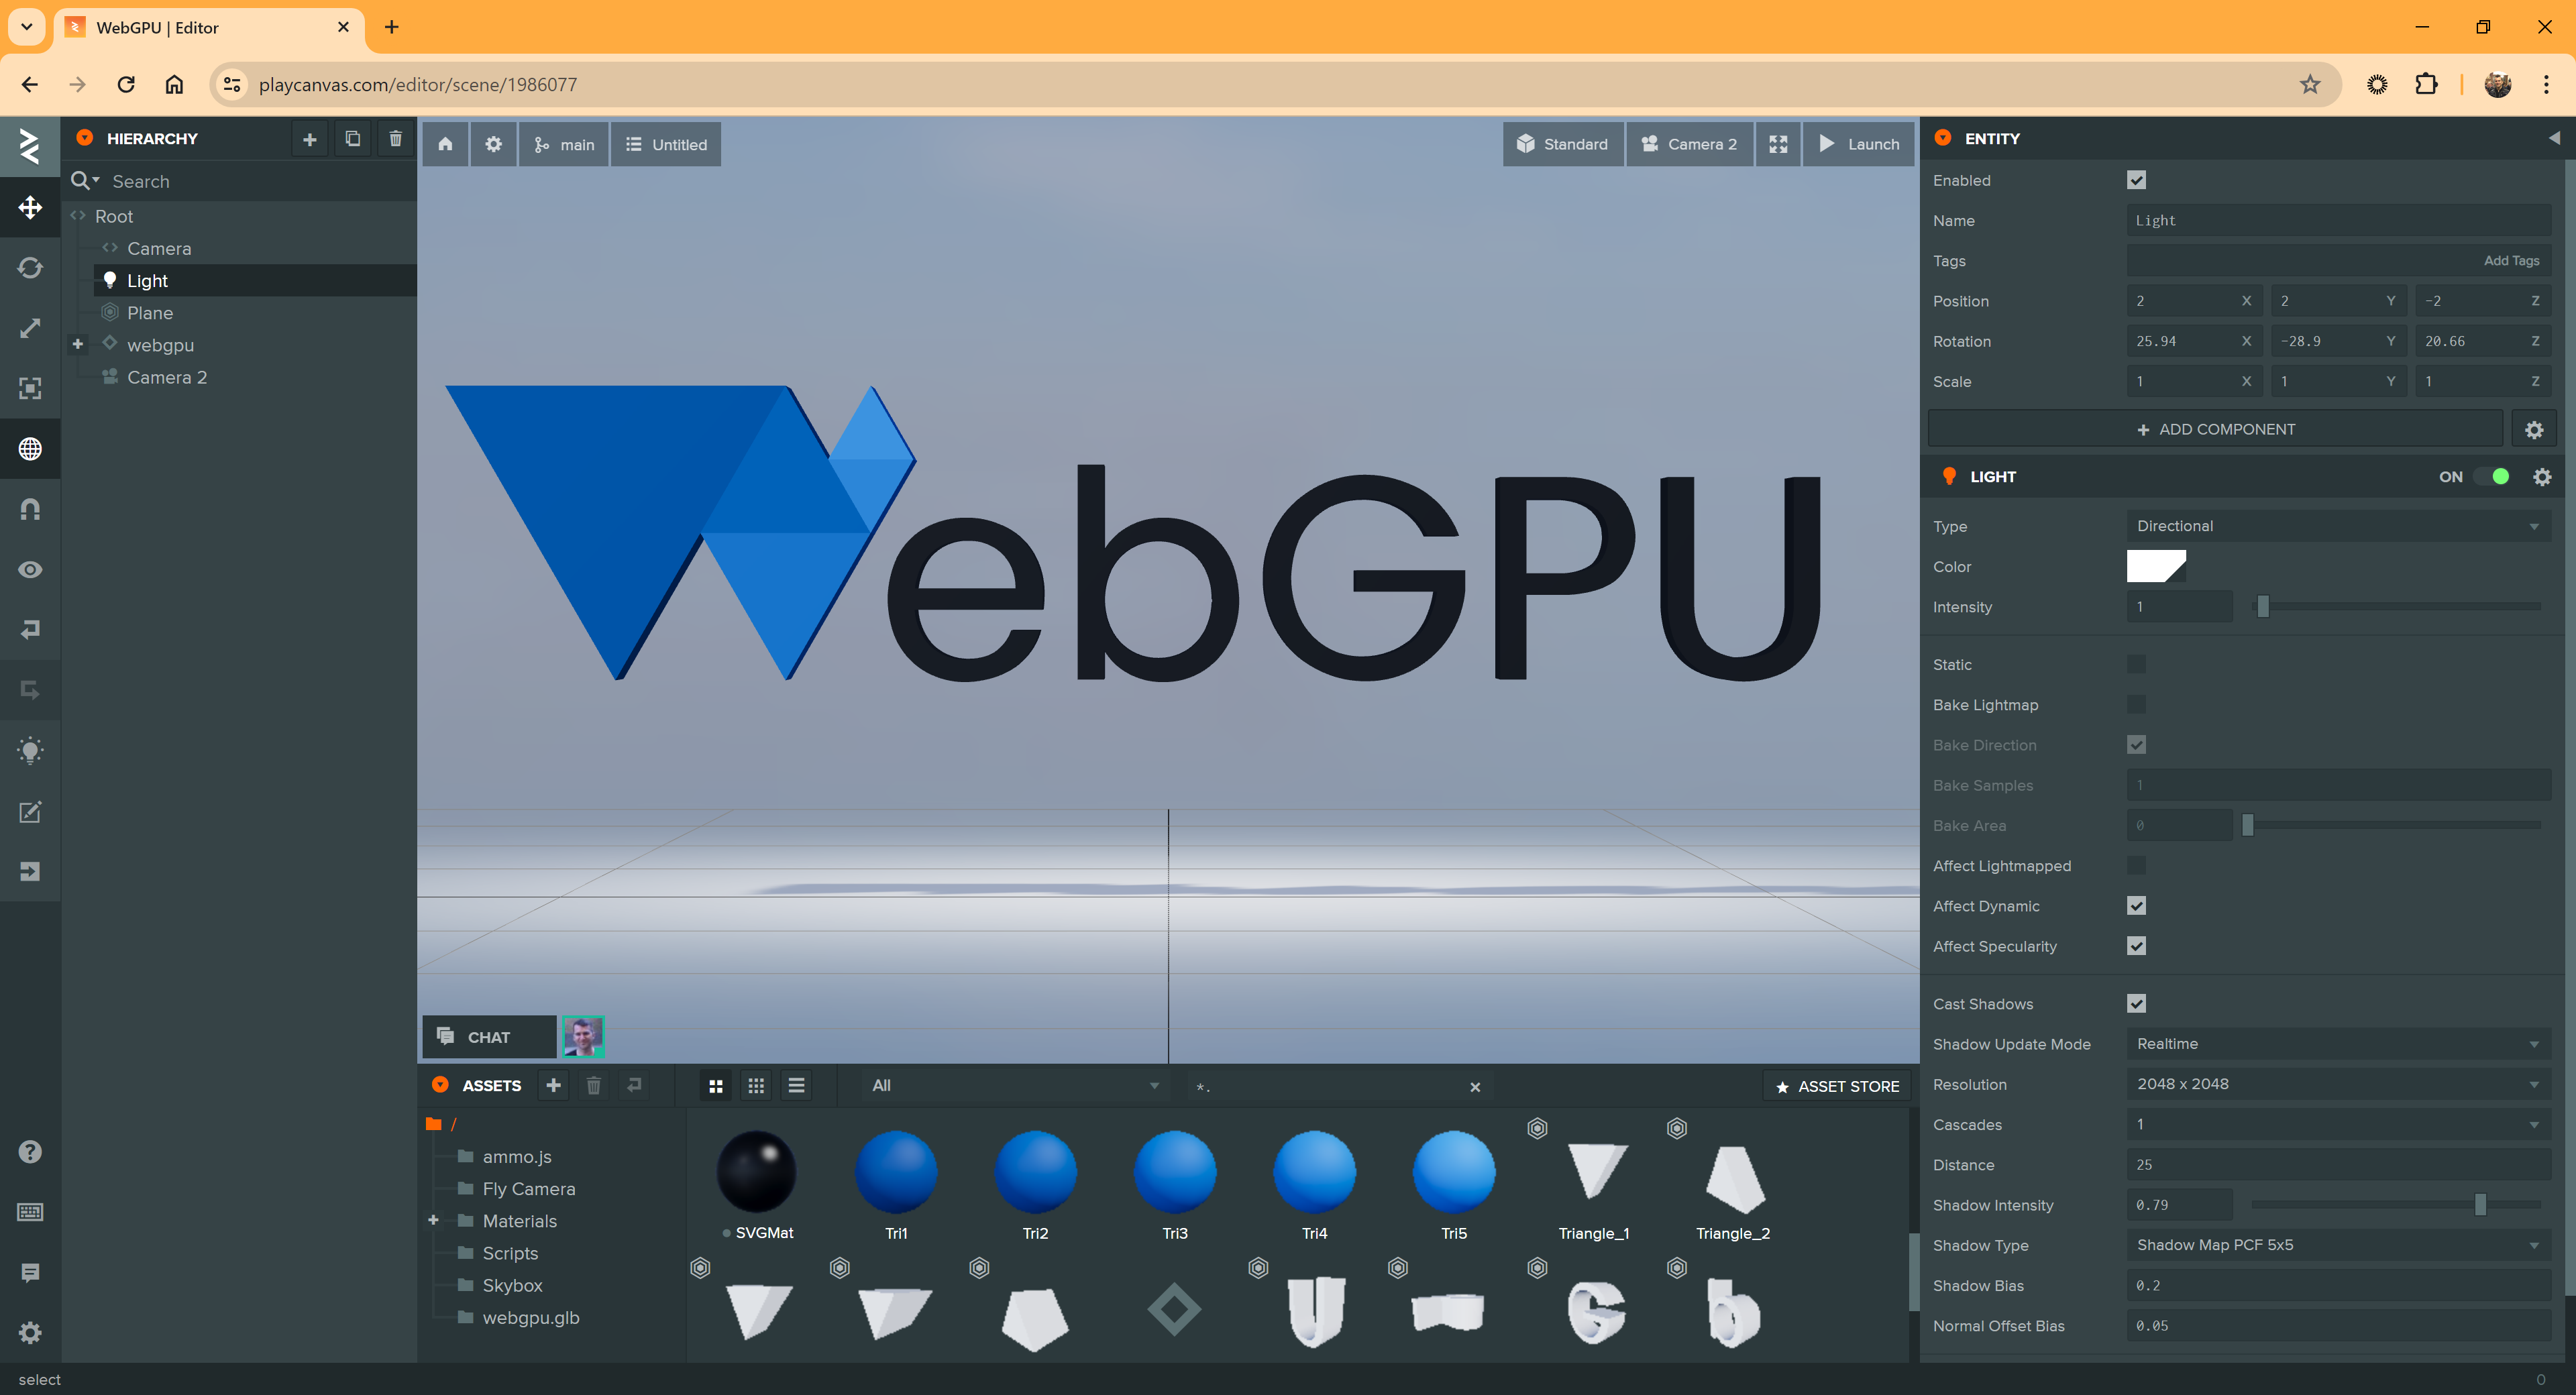
It's here! 🥳 Today, we're excited to announce that WebGPU support has officially arrived in the PlayCanvas Editor.

Editor with WebGPU Scene

WebGPU on the Rise

Since its inception back in 2010, PlayCanvas has been layered on top of WebGL. In 2017, we were proud to launch support for WebGL 2.0 in partnership with our friends at Mozilla. April 2023 marked the beginning of a new era for web graphics when Google enabled WebGPU by default in Chrome 113. Since then, WebGPU adoption has exploded and today, Web3D Survey reports that 62.19% of end users can now run WebGPU. With Firefox and Safari due to launch their WebGPU support in the not-too-distant future, expect this number to rise dramatically in 2024.

Why WebGPU Matters

If you enable WebGPU for your PlayCanvas project, you may not notice much difference to begin with. In fact, we have put a great deal of effort into ensuring your WebGL projects look identical under WebGPU. But over time, there is are a great deal of opportunities to achieve performance improvements due to WebGPU's reduced driver overhead.

Another key feature unique to WebGPU is support for Compute Shaders which allow for general computation on the GPU. Support for Compute Shaders landed in Engine v1.70.0. Here you can see Computer Shaders in action simulating 1 million particles on the GPU:

Click here to run it for yourself in a WebGPU-enabled browser (i.e. Chrome or Edge).

In short, WebGPU represents the future for PlayCanvas and you can expect some incredible advances in performance and functionality over the coming months.

Getting Started with WebGPU

WebGPU support in PlayCanvas is still considered 'Beta'. There are still some unimplemented features (for example, the run-time lightmapper is still not supported). Therefore, you have to currently 'opt in' to WebGPU support. To do this, open your Project's Settings in the Inspector and expand the RENDERING section. Then update Graphics Devices to include WebGPU (beta).

Editor with WebGPU Scene

Once we are satisfied WebGPU support has matured enough, it will become the default.

Your Feedback is Important

Since WebGPU support is new, we rely on the community for feedback. What works and what doesn't? Please submit an issue if you discover any problems or kick off a new thread on the forum if you want to discuss WebGPU support in more detail. We want to hear what your opinions! 👂

Boost Your Efficiency: Editor gets Support for AVIF and WebP

· 3 min read
Mark Lundin
Software Engineer

AVIF + WebP Support

Today we're excited to announce that PlayCanvas now supports WebP and AVIF images natively in the editor. Two new, efficient image formats built for the web.

This is not just an exciting update for us but a game-changer for anyone looking to optimize their projects for faster load times and better quality.

JPGs and PNGs have served us well. They're reliable and you can use them everywhere. AVIF and WebP are the new kids on the block. They offer better compression with a wider range of features like alpha channels, HDR and wide color gamut. But how do these formats work in practice and are they really that good? Let's dive in.

Take a look at the following images:

They look strikingly similar, but the file size tells a different story. The AVIF image on the left has a file size of just 18Kb, and the JPG counterpart over 4 times larger at 74Kb! This level of compression is not just impressive on its own. When you're working on a project with multiple textures, switching to AVIF and WebP formats could considerably reduce your overall load time.

What does this mean for you? Well, that's simple: it's all about efficiency and speed without sacrificing quality. Textures are one of the biggest assets in a 3D project and AVIF and WebP significantly reduce image sizes compared to traditional JPEGs and PNGs and that means faster load times and happier users. 🙌

AVIF all the things?

Ok, so browser support for AVIF is good, but not great according to caniuse, so always check support and use the right format for your users. Different formats are better suited for different content. It's not a one-size-fits-all solution, so we encourage you to explore various options and choose the one best for you.

Getting Started

Easy! Just start uploading your AVIF and WebP files into the Asset Panel, and for those of you wanting to convert your existing assets, you can now right-click on your asset in the Asset Panel and quickly convert your asset into a PNG, JPG, WebP or an AVIF.

Quick Convert

So there you have it! This is not just a feature release; it's our way of saying we're listening and we care. We're excited to hear your thoughts on these new features. Give them a try and share your experiences with us.

Till then, keep creating, keep innovating!

PlayCanvas Adds Sketchfab Integration

· 3 min read

Today, we're excited to announce the integration of Sketchfab into the PlayCanvas Editor!

"Spartan Armour" by McCarthy3D is licensed under CC BY 4.0.

With today's launch you'll have instant access to Sketchfab's enormous library of high quality 3D content right inside the Editor.

What Is Sketchfab?

Sketchfab is a platform that allows users to publish, share and discover 3D content on the web. You can think of it as a sort of "YouTube for 3D models". The platform hosts millions of 3D models in various formats, including glTF, OBJ, STL, and more.

Users can upload their 3D models to Sketchfab and embed them in other websites much like one would embed a YouTube video. This has made it popular for showcasing 3D models for a wide range of uses including game assets, 3D scans, architectural models, and educational content.

Accessing Sketchfab from the Asset Store

Earlier this month, we announced the brand new PlayCanvas Asset Store. The Asset Store is an in-Editor panel of useful assets that you can use in your projects. With a few clicks, you can browse, discover and import various types of content. So it is the obvious place to incorporate the vast Sketchfab content library.

To access the Sketchfab library, simply hit the Asset Store button on the Asset Panel header and select the SKETCHFAB filter on the left.

Open Sketchfab

Authorizing PlayCanvas to Access Sketchfab

If you want to import models from Sketchfab into PlayCanvas, you first need to create a Sketchfab account. Then, the first time you try to import a Sketchfab model in the Asset Store, you will be asked to authorize PlayCanvas to access your Sketchfab account.

Authorize Sketchfab

It's so quick and easy!

New License and Author Info for Assets

Sketchfab assets are all tagged with a license and an author. When you import Sketchfab content into your PlayCanvas projects, it's important that we preserve this information. Now, when you click on any imported asset, you'll see we've added links to license and author information in the Inspector panel.

Sketchfab Licenses

This ensures that the author's licensing wishes are respected and that they recieve credit for their work.

Go Forth and Create

With today's release, it's never been easier to create interactive 3D experiences for the web. We hope you love the new Sketchfab integration. But, as always, we love to hear your opinions so head over to the forum and join the conversation. Happy creating! 🚧👷

Announcing the New PlayCanvas Asset Store

· 4 min read

The PlayCanvas Asset Store is the first place that users tend to go to find content for their projects. This is especially true for new users who want to get started as quickly as possible. Up until now, the Store has not been particularly easy to use and the content has not changed in quite a long time. In short, a complete overhaul and refresh has been long overdue. So today, we are incredibly excited to announce a major upgrade for the PlayCanvas Asset Store!

First up, check out a little example of building a city scene using content taken from the Asset Store. A skybox, a pack of 3D city block meshes and a camera control script are imported and the city is built via drag and drop. And not one single line of code is needed!

Now, let's examine some of the key highlights that make the new Asset Store so special.

Built Right In To The Editor

It should be possible to grab assets quickly, right from within the Editor itself. Why should you have to open a new tab and go hunting around the web? So to keep things as convenient as possible, the ASSET STORE button (in the Editor's Assets Panel) now opens a nicely designed, responsive Asset Store panel.

Asset Store Panel

One really cool benefit of selecting assets from within the Editor is that the currently selected Asset folder is known. This means you have compete control over where your imported assets will be saved.

Preview Store Assets Before Import

Sometimes, an asset thumbnail just isn't sufficient to tell if a particular asset is what you want.

Asset Store Viewer

Our new Store allows you to select a Store Item and preview it in an appropriate viewer (glTF Viewer for 3D models, Texture Viewer for textures and cubemaps).

Find What You Want Quickly

As the number of store items continues to grow, it's going to be incredibly important for you to be able to narrow down your assets searches. As a result, the new Store comes with powerful searching, sorting and filtering capabilities.

Asset Store Search

You can filter by asset type, search asset names and descriptions and then order search results on a host of criteria.

Fresh New Content

Recently, the Asset Store content was, let's just say, beginning to show its age. We are now in a world of HDR skyboxes, PBR materials and high polygon meshes. So it made sense to erase old store items and refresh the Store with better, more modern content. We have selected a broad variety of Creative Commons assets from fantastic content sources such as kenney.nl, HDRi Haven, Sketchfab and Khronos' glTF Sample Models.

Asset Store Content

If you would have any suggestions for content you would like to be added to the Store, please do let us know!

The Future

There's still so much we want to do with the new Asset Store! But here are some things we have in mind:

  1. More Content. The important thing to say about today's update is that it delivers the core infrastructure on which we can iterate. It is now exceptionally easy for us to populate the store with more content. So, in the near term, you can expect to see the range of content expand quite rapidly.

  2. Third Party Stores. Now that we have a solid foundation in place for the Store, we have the ability to host third party stores within the same UI and maximize your choice.

  3. More Asset Types. Today's launch offers models, fonts, textures, skyboxes and scripts. Next, we want to add audio assets and template assets (AKA prefabs). Template assets in particular are very exciting because you would be able to import fully interactive, visual entities into your projects (such as a drivable vehicle or a controllable character).

What would you like to see us add to the Asset Store next? Let us know on the forum.

Happy creating, friends!

Draco Mesh Compression Arrives in the PlayCanvas Editor

· 2 min read

We are thrilled to announce the immediate availability of Draco Mesh Compression in the PlayCanvas Editor! Our latest feature allows developers to compress meshes using Google's Draco technology, reducing file sizes and enhancing the end-user experience.

At its core, Draco Mesh Compression reduces the amount of data needed to represent 3D graphics without compromising visual quality. The technology achieves this by applying a lossy compression algorithm to the mesh data. With less data to transfer, the result is faster load times and lower bandwidth costs for your applications.

The open source PlayCanvas Engine has been able to load Draco-compressed glTF 2.0 files for quite some time now. But now you can generate these Draco-compressed glTF files in the Editor at import time. Check out how easy it is to use:

"1972 Datsun 240k GT" by Karol Miklas is licensed under Creative Commons Attribution-ShareAlike.

In the example above, a 49.9MB GLB file is crunched down to only 3.67MB. That's a 92.6% reduction is file size! And for the majority of scenes, you should notice no difference in terms of visual quality. The only cost is decompression time when the compressed GLB is downloaded by an end user, but this should be significantly less than what is saved in terms of download time.

To enable the feature, open your Project Settings in the Inspector, expand the Asset Tasks panel and edit the Mesh Compression setting. Then, simply Re-Import any existing FBX or GLB and compression will be applied. Any FBX or GLB subsequently imported will also respect your mesh compression setting. Read more on the Developer Site.

We believe that mesh compression is going to take many types of applications to the next level, particularly e-commerce applications like product configurators, which need to load detailed meshes as fast as possible.

Get started with PlayCanvas today and make your WebGL dreams a reality!

glTF 2.0 Import Arrives in the PlayCanvas Editor

· 4 min read

We are excited to announce a major update for the PlayCanvas Editor: glTF 2.0 import. This new feature allows users to easily import and use 3D models created in other applications such as Blender and SketchUp, as well as from digital asset stores like Sketchfab, directly into the PlayCanvas Editor.

Model by Loïc Norgeot and mosquito scan by Geoffrey Marchal for Sketchfab licensed under CC BY 4.0
Author: Sketchfab License: CC-BY-4.0 Source: Mosquito in Amber

glTF (GL Transmission Format) is a file format developed by The Khronos Group for 3D models that is quickly becoming the industry standard. It is an open format that is designed to be efficient and easy to use, making it the perfect choice for use in the PlayCanvas Editor.

The PlayCanvas Editor and run-time now supports the full glTF 2.0 specification, including 100% of ratified glTF extensions (such as sheen, transmission, volume and iridescence). This means that developers can import and use high-quality 3D models and take advantage of the latest advancements in the glTF format to create truly stunning interactive experiences.

One of the major benefits of glTF import is the ability for users to edit glTF materials in the PlayCanvas Editor's powerful Material Inspector. Here you can see the famous Stanford Dragon imported from GLB with refraction properties edited live in the Inspector:

The dragon model based on the one from Morgan McGuire's Computer Graphics Archive. Original dragon mesh data based on a Stanford Scan © 1996 Stanford University.

Once a glTF model is imported into the editor, all of its materials are available to be tweaked and customized. This added flexibility and control will greatly enhance the workflow of developers and allow them to tweak the appearance of assets without having to fire up Blender.

Another great benefit of the new glTF import feature is its integration with PlayCanvas' Template system. The PlayCanvas Template system allows developers to create reusable and modular components that can be trivially reused across multiple scenes. With the integration of glTF import, developers can now import their 3D models and scenes, and then directly edit the hierarchy, attaching scripts and other component types to the imported scene nodes. This will allow them to create complex and interactive 3D scenes quickly and easily, with minimal coding.

Additionally, the glTF import feature is also integrated with PlayCanvas' animation system. The PlayCanvas animation system allows developers to create and control animations on their entities and characters. When importing animated glTF/GLB, developers can now quickly set up an Animation State Graph to build simple loops or complex transitions. This will allow them to create more dynamic and interactive 3D scenes, with minimal effort. Check out how it can be done in just a few seconds:

CC0: Low poly fox by PixelMannen CC-BY 4.0: Rigging and animation by @tomkranis on Sketchfa.
glTF conversion by @AsoboStudio and @scurest

In short, glTF import is a major addition to the PlayCanvas Editor, and will greatly enhance the workflow of our users. It allows developers to:

  • Faithfully import glTF/GLB files from many different applications and stores.
  • Edit the materials and hierarchy of imported glTF/GLB files.
  • Import glTF/GLB animations and quickly configure loops and transitions.

We are thrilled to bring this new feature to our users and we can't wait to see the amazing projects that will be created with it. If you have any questions or feedback, please let us know on our community forum.

Thank you for choosing PlayCanvas, and happy creating!

Upcoming UI changes to Dashboard and Editor - PlayCanvas Bytes

· One min read
Steven Yau
Partner Relations Manager

PlayCanvas Bytes is where we talk about upcoming work with PlayCanvas and related topics.

We are trialing a new format to better communicate some of the work that is going on with the PlayCanvas team.

Today we have our UX designer, Jasper who will take us through some exciting plans to the new project dashboard and Editor View!

  • 00:00 Intro
  • 00:30 New project creation flow/dashboard
  • 03:56 Changes to the Editor Viewport
  • 05:16 Launch button updates
  • 07:57 New 'Empty' inspector panel
  • 08:50 Making the back button visibility
  • 10:13 Outro

Let us know your feedback in the forums!

Editor API Beta Release

· 2 min read
Steven Yau
Partner Relations Manager

Over the past few months, we have been developing an Editor API that allows users to automate tedious tasks and enhance the base functionality.

We are excited to announce the beta release of the API today and are eager to see how the PlayCanvas community will leverage it to enhance their workflows!

The API provides capabilities to create and modify entities and assets extensively. Users can add or remove components, scripts, tags, and assets, create and instantiate templates, and much more.

Here's an excellent example where a context menu has been added to select entity parents in the hierarchy, speeding up scene editing:

Select Entity Parents From: https://twitter.com/yaustar/status/1446504233537314816

Or adding random entities to the scene:

Generate Random Boxes

Find more examples and access the documentation in our User Manual.

Join our Open Source Effort

The PlayCanvas team is a strong advocate for open source. This is why we've decided to open source the Editor API on GitHub. To build the best possible API, we need your help:

  • Log issues and feature requests (or leave feedback on those submitted by others).
  • Submit pull requests for fixes and API changes.
  • Watch the repo or individual issues to stay updated on progress in real-time.

Start experimenting and share your projects using the Editor API in the forums!

Anim Layer Masks and Blending

· 4 min read
Elliott Thompson
Software Engineer


RUN DEMO

Today, we are releasing the latest anim component feature: the masking and blending of anim layers.

This is a versatile feature that has been hotly requested by PlayCanvas developers that wish to get even more creative with their animations. We’re excited to be able to share how it works in this blog.

Animating characters

When creating complex animation behavior for games, it is often necessary to make a character carry out multiple actions at once. For instance, you might want to create a character that can pick up and carry an item, or shoot a weapon while freely moving around a scene.

To perform these actions at the same time, the upper and lower body of the character must be animated independently. The upper body should be able to move from an idle stance to a shooting stance, and then shoot on demand, all while the lower body moves between idling, walking, running based on the player's command.

A character with two animation layers. A movement layer and a shooting layer masked to the upper body

This effect can be difficult to achieve in most 3D engines, as it usually requires removing certain animated bones in the animation files themselves, before importing those assets into a game project. Only then would a developer be able to create two animation layers, one for movement and another for shooting.

A shooting animation might have all of its lower body bones removed, which would free up the lower body to be animated by the movement layer. In large projects, this can start to become really cumbersome. Adding or removing bones from an animation would require a rebuild of the animation asset in whichever modelling software the developer is using, followed by a reimport of the asset into the PlayCanvas project.

Anim Layer Masks

Masks can streamline this workflow by enabling developers to add or remove a model’s bones from an animation layer directly. This means you can select which part of a character a particular set of animations should animate directly in the PlayCanvas editor. Testing out different combinations of character bones now becomes as simple as toggling a few checkboxes.

Creating layer masks in the PlayCanvas editor

By selecting only the bones in the upper body of the character model for an anim layer, you can free up the lower body to be animated by previous layers which would have been overwritten without this upper body mask.

Anim Layer Blending

Previously when using the anim component, you could play any number of animations on top of each other by creating multiple anim layers. However, any animations from subsequent layers that animate the same bones as previous ones will completely overwrite those previous animations.

That meant that even if you were to add a shooting animation to the top half of a character, it would always be playing over a walking animation that was placed on a previous layer.

Now with anim layer blending, it is possible to smoothly blend subsequent layers in and out, changing the weight each layer contributes to the characters animation in real time.


Animation layer blending in the PlayCanvas examples browser

When editing an AnimStateGraph asset, you’re now presented with two Blend Type options in each layer. The Overwrite option is set by default and works as before, each subsequent layer completely overwrites the animation values of previous layers.

However, now, if you select the ‘Additive’ option, the anim system will take the weight of each additive layer into account and blend the layered animations accordingly. This is a great way to blend one animation on top of another.

We’re really keen to see what you can create in PlayCanvas using this feature, so be sure to check out the links below so you can begin working with layer masks and blending.

Changes to our Editor and Engine Releases

· 3 min read
Steven Yau
Partner Relations Manager

Up to now, our process for releasing new features and fixes to the PlayCanvas Engine and Editor has been rather simple.

As features and fixes are ready, we would plan a release and test against a comprehensive list of PlayCanvas projects and the Engine examples. Once testing is passed, it would be released to everyone that is using the playcanvas.com service and Editor.

This has served us well for many years and meant that users always had the latest features of the Engine.

However, as the features of the Engine are get bigger and more complex and users' projects grow in scale and size, this release process needs to change to match our users' needs for stability and transparency with releases.

Over the next month or so, we will be rolling out the following changes (finer details subject to change):

Minor and patch versions updates

Minor releases (1.XX.0 where the XX is the minor version) are currently reserved for API additions/changes in the Engine and/or larger feature releases while patch releases (1.XX.YY where YY is the patch version) could be bug fixes and minor features.

Going forward, patch releases will strictly only be for bug fixes which will generally improve stability and user expectations.

New functionality will only be added in minor releases.

Renaming Engine's GitHub 'master' branch to 'dev'

To better reflect our usage of the 'master' branch, we will be renaming it to 'dev' over the next few days as that is where our features and updates are merged prior being released.

As the branch is typically unstable, the naming of 'dev' is more descriptive of the branch's purpose.

This will have knock on effects to forks of the Engine repo on GitHub. If you have a fork of the Engine, please read the following documentation from GitHub to see how this affects you.

The steps from the documentation will be:

git branch -m master dev
git fetch origin
git branch -u origin/dev dev
git remote set-head origin -a

Alternatively, creating a fresh clone from GitHub will work as well.

Separate Engine releases from the Editor

The Editor will no longer be affected by the latest release of the Engine on the GitHub repo. The Engine version used in the Editor will only be updated via an Editor release.

While it means that Editor users will have to wait a little longer to get the latest features, it allows extra time for users to test their projects against the upcoming Engine release and report any issues.

However, users will still be able test early against the latest Engine releases using the use_local_engine param on the Launch Tab. We will also be looking at making this process easier to do via the Editor, such as an option in the Launch Tab settings.

Once this has been tested against the Editor and any reported issues are fixed, the Editor will be released with this version of the Engine.

Feedback

This is currently the high level plan and we would love to hear your thoughts and suggestions on the forums!