How to make your HTML5 Games Awesome!
The quality of a video game is often determined by how polished it is. It's the attention to detail and the finishing touches that can make a good game great. In this article, we'll take a look at the importance of polish in game development and how it can significantly enhance the overall experience.
We'll use Space Rocks!, a simple Asteroids game created with the PlayCanvas game engine to showcase how even the smallest details can make a big impact.
Game juice is a design term to refer to the small visual and audio effects that are added to a game to make it feel more satisfying to play. This can include things like screen shakes, particle effects, and sound effects that are triggered when the player takes certain actions. Game juice is all about enhancing the overall feel of a game and making it more immersive and enjoyable.
Particularly, we'll explore how game polish can be achieved through game juice.
How it started
This was our starting point before we added game juice. While the game is fully functional and plays well, it lacks the visual and audio effects that would make it truly engaging. As a result, it feels a bit dull and uninteresting.
However, with the right attention to detail and some careful implementation of game juice, we can transform this basic Asteroids game into something much more exciting and satisfying to play.
What can we improve?
To think about what should have game juice, I always try to narrow down the most common interaction or core mechanic of the game. In our case, that would probably be:
- Shooting
- Destroying asteroids
- Colliding with asteroids
With those three key pieces in mind, let's start thinking about how we can improve them.
For shooting
It's not very interesting right now:
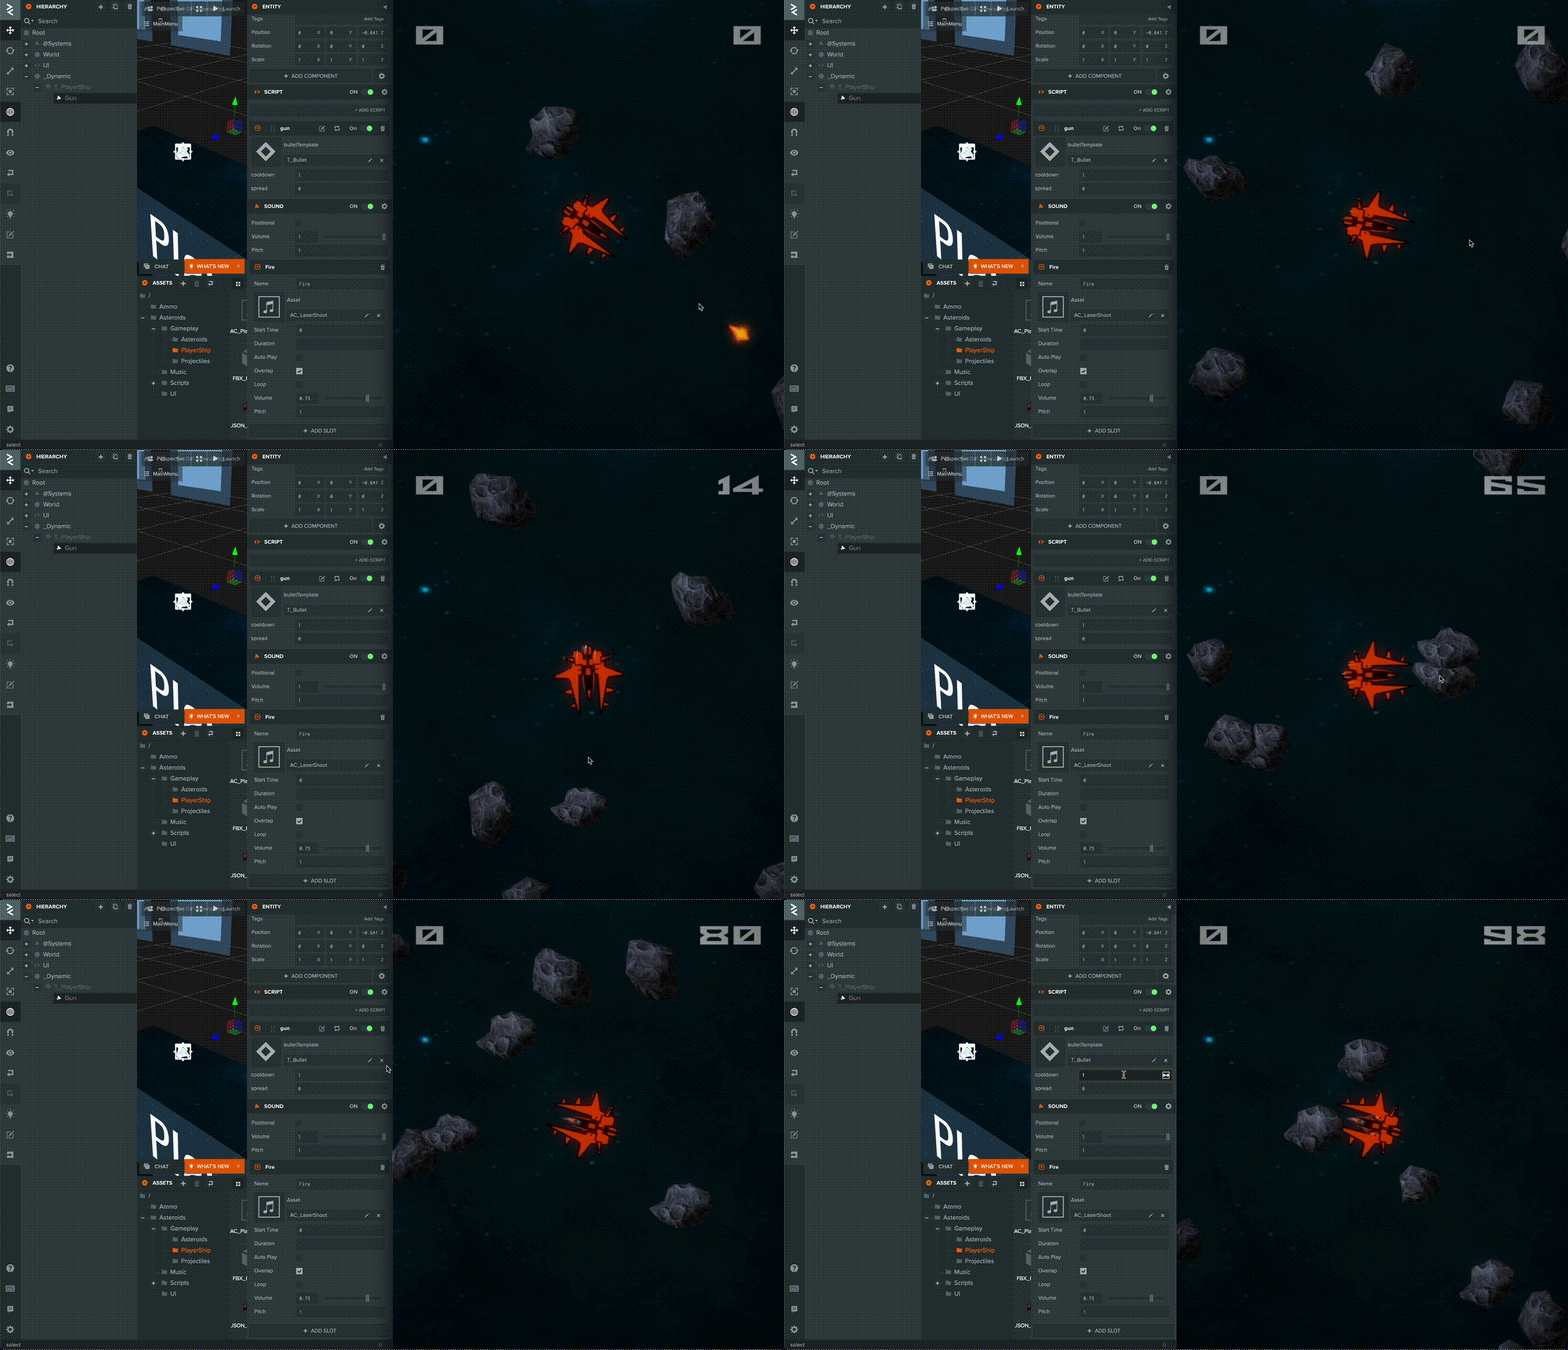
If we want to change that, there's a few key things we can do. We can increase the fire rate through a script that allows us to easily control by decreasing the fire cooldown.
Gun.attributes.add('cooldown', {
    type: 'number',
    default: 0.25,
    title: 'Cooldown',
    description: 'How long the gun has to wait between firing each bullet'
});

Gun.prototype.update = function (dt) {
    this._cooldownTimer -= dt;

    if (this.app.mouse.isPressed(pc.MOUSEBUTTON_LEFT) && this.canFire()) {
        this.fireBullet();
    }
};
In fact, while we're at it, let's make shooting a bit more unpredictable. Let's add some spread to our shots!
Gun.attributes.add('spread', {
    type: 'number',
    default: 10,
    title: 'Bullet Spread',
    description: 'Up to how many degrees each bullet should vary in Y rotation.'
});

Gun.prototype.applySpreadOn = function (bullet) {
    var rotation = this.entity.getEulerAngles();
    rotation.y += getRandomDeviation(this.spread);
    bullet.setEulerAngles(rotation);
};
A simple but impactful change! Here's how it looks with values I put in for some fun:
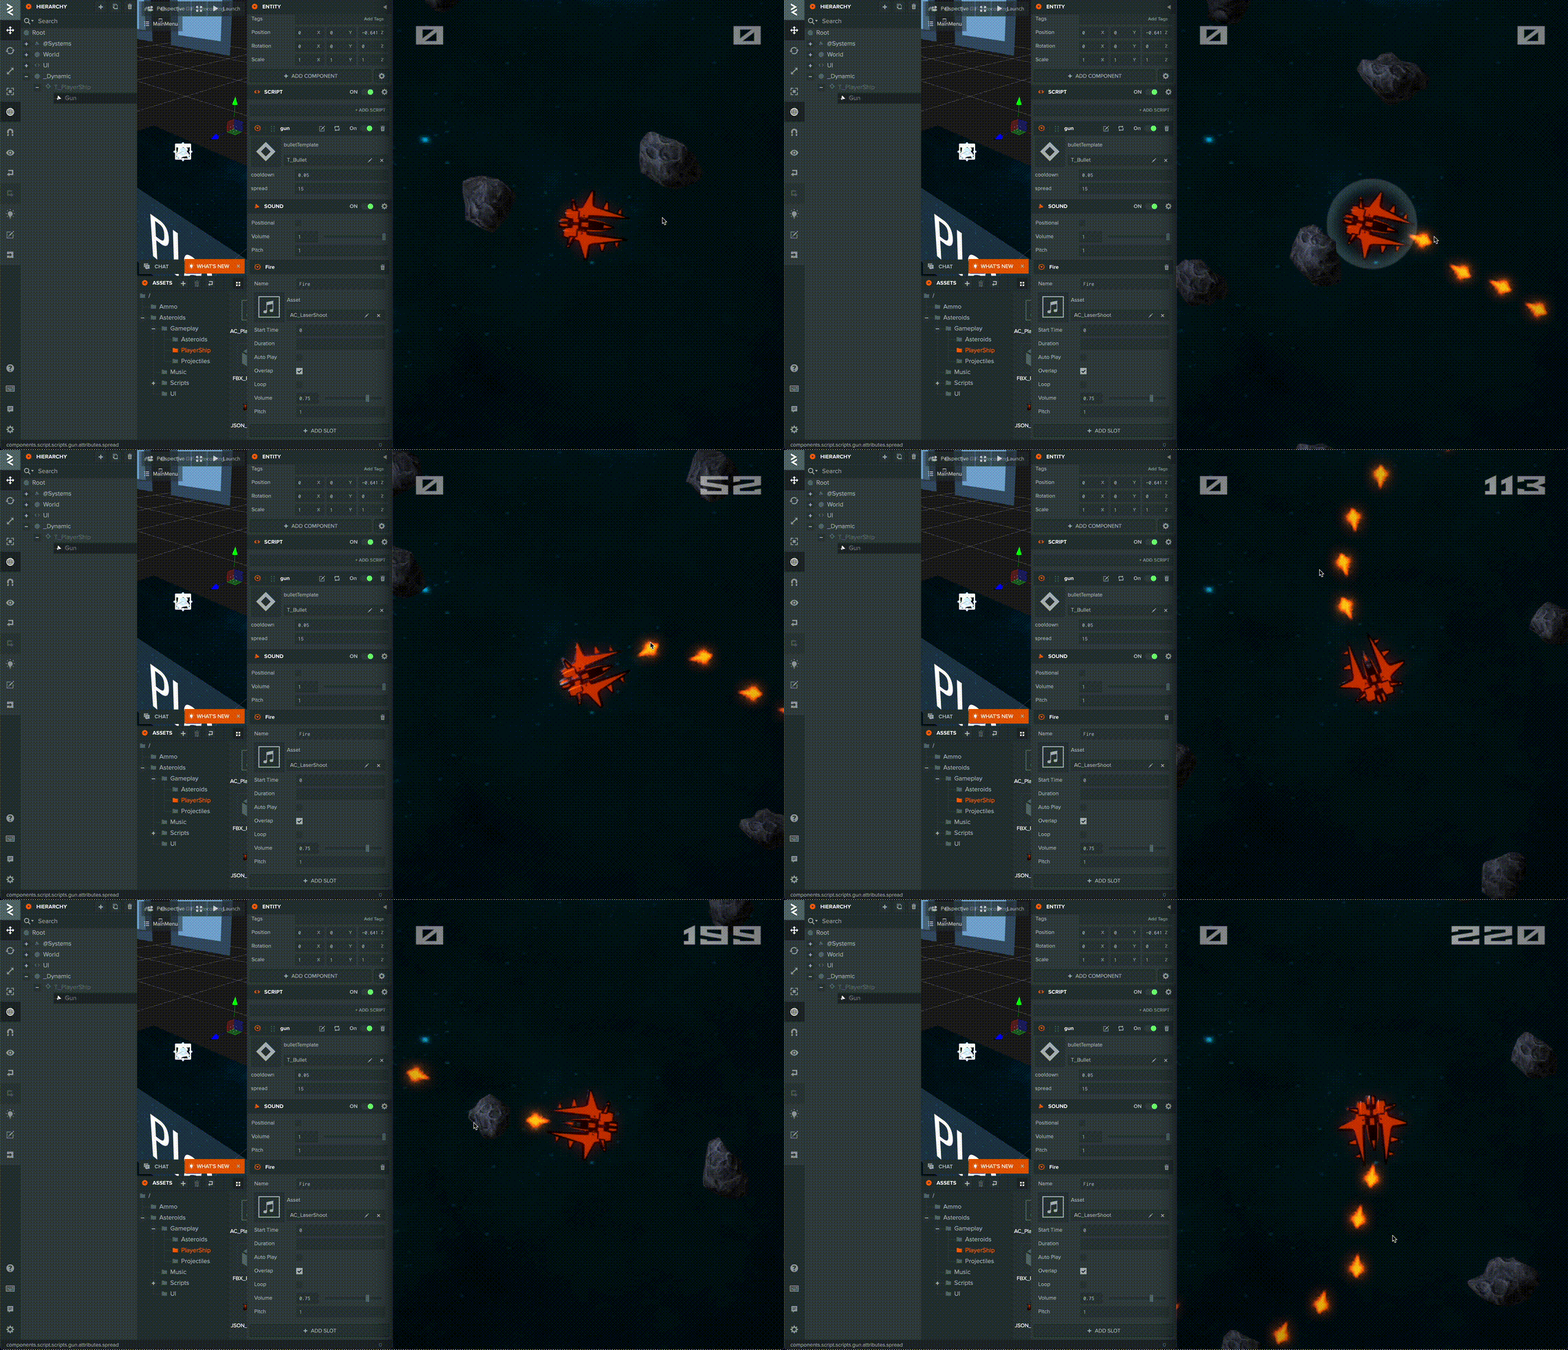
I highly encourage you to play with these values to see what's fun for you!
It's getting better, but still not there. Let's think about more visual aspects now. What more can we do to make it more visually appealing?
PlayCanvas has a nice feature that allows you to have tons of lights in your scene with very little performance impact! It's called ✨ Clustered Lighting ✨.
Clustered area lights are happening at @playcanvas ! pic.twitter.com/LTwlhbcg8y
— Martin Valigursky (@ValigurskyM) November 11, 2021
We can actually leverage this amazing tech to give every single one of our bullets a point light - this makes the scene considerably more dynamic as everything gets lit up when we fire!
As another touch, let's add a few sparkles when our shots hit something! The extra visual effect will make a big difference instead of just letting our bullets disappear. Particle explosions are always awesome.
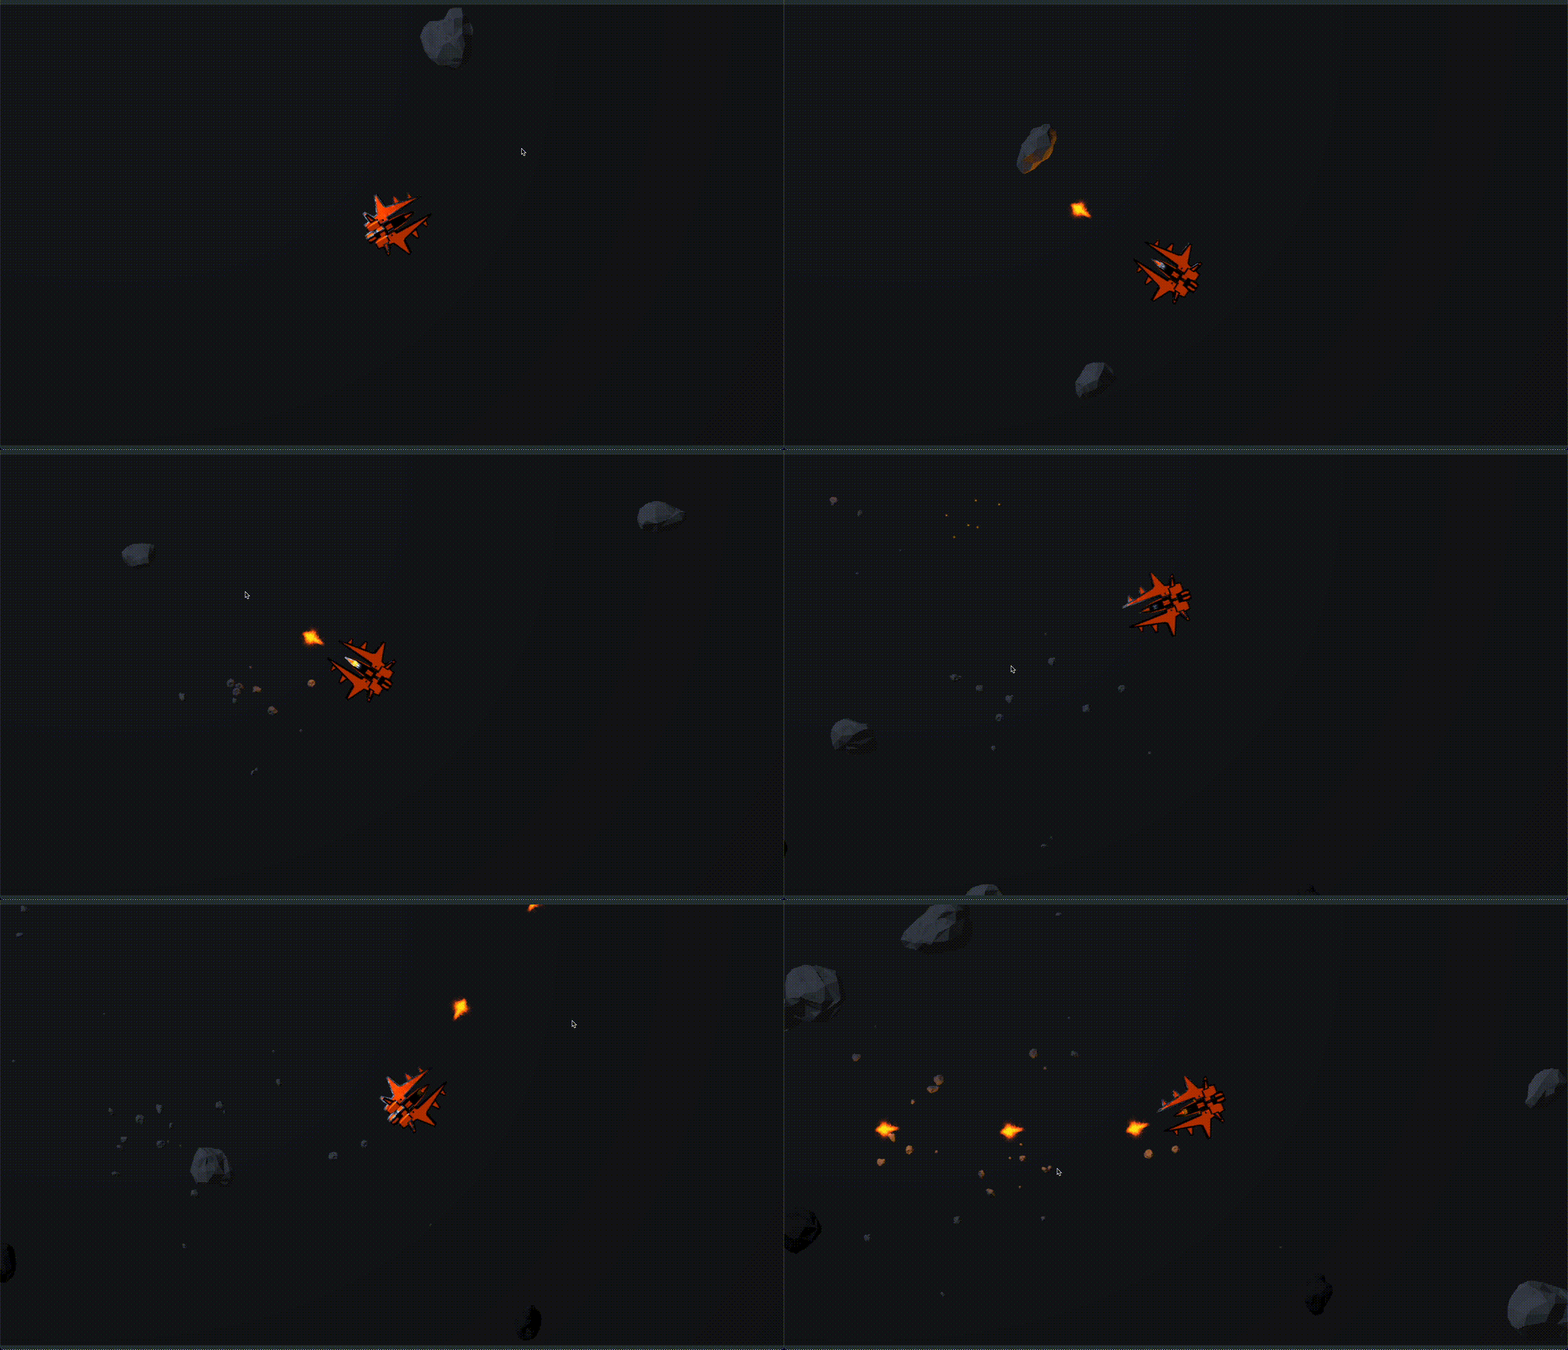
Awesome! Our bullets look pretty nice. But we’re still shooting at fairly dull asteroids. Let's make a few changes.
Destroying Asteroids
Firstly, we want our asteroids to stand out from our background. Let's change the background texture to something a bit brighter.
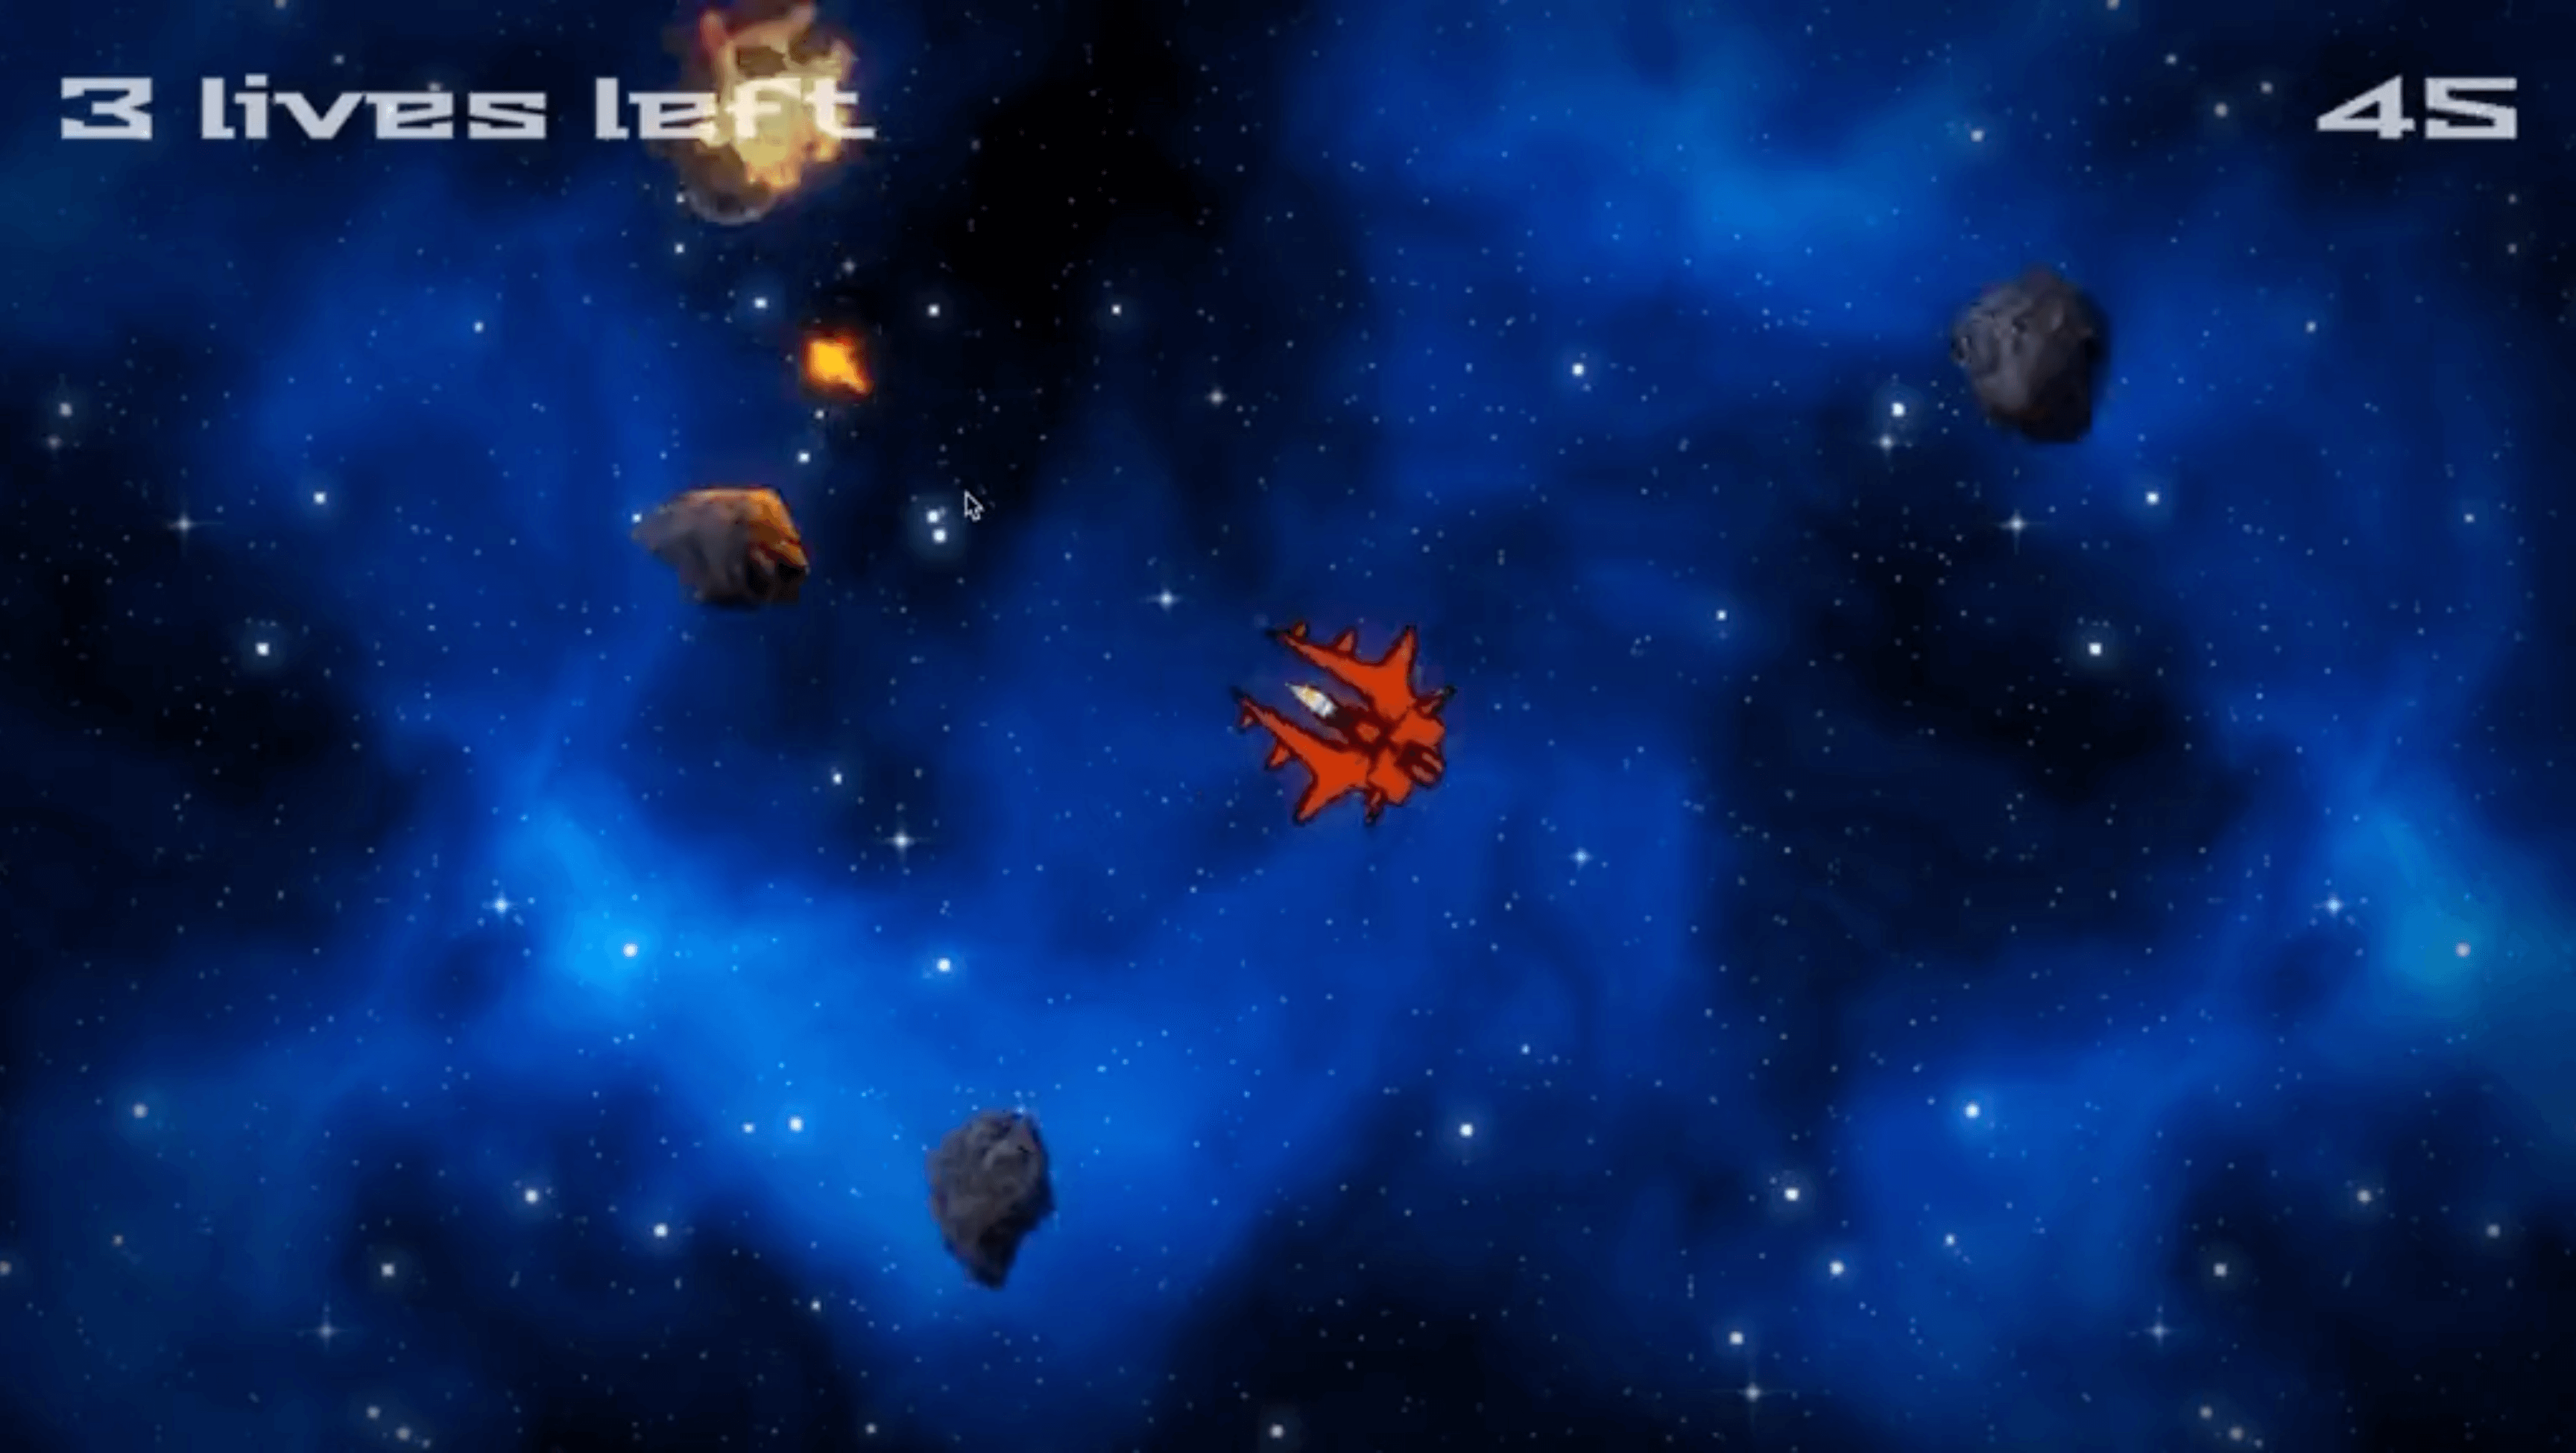
Much better! But can we make the asteroids themselves prettier? They're currently mapped with a fairly low resolution texture. Moreover, there's no variety - all asteroids are the same, only rotated differently.
Let's import a new mesh and texture for the asteroids.
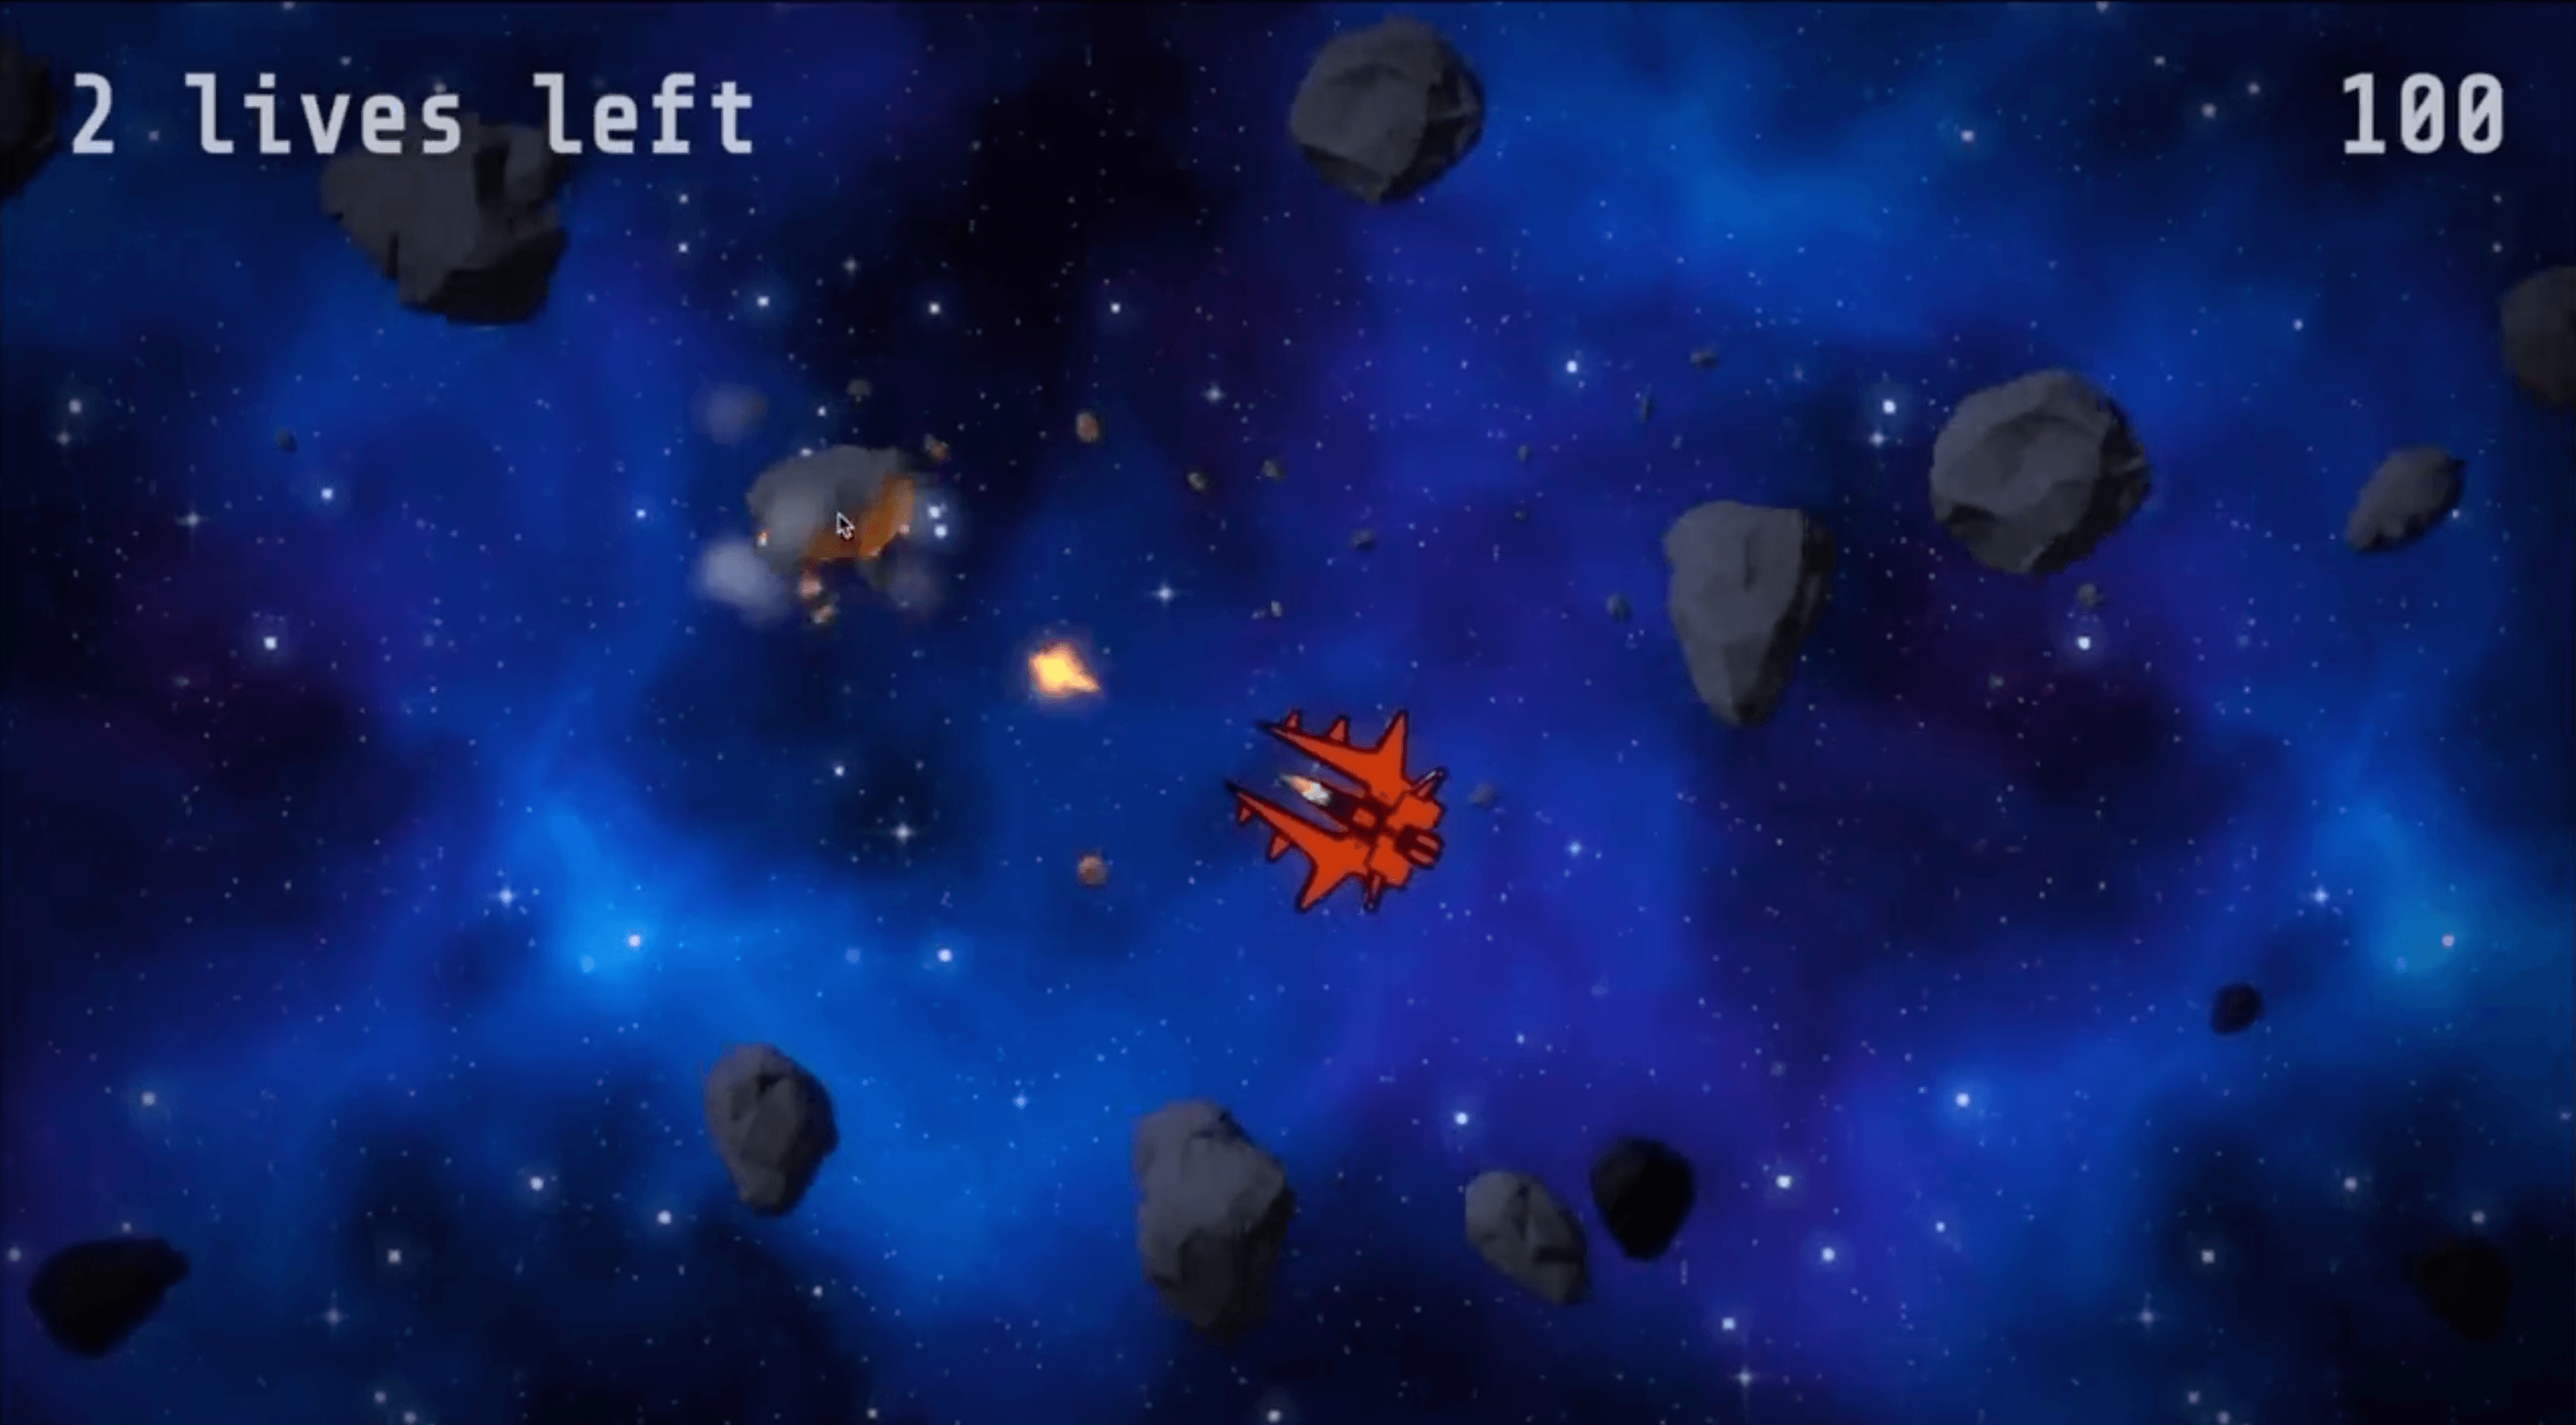
Nice! Much more visible, and much more variety - I should note I went ahead and added a simple component that further randomizes the scale of the asteroids being spawned!
var ScaleRandomizer = pc.createScript('scaleRandomizer');

ScaleRandomizer.attributes.add('baseScale', {
    type: 'number',
    title: 'Base Scale',
    description: 'The base scale to deviate from'
});

ScaleRandomizer.attributes.add('scaleDeviation', {
    type: 'number',
    title: 'Scale Deviation',
    description: 'The amount by which the effective scale should deviate from the base scale'
});

// initialize code called once per entity
ScaleRandomizer.prototype.initialize = function () {
    this.entity.setLocalScale(this.getRandomScale());
};

ScaleRandomizer.prototype.getRandomScale = function () {
    var deviation = getRandomFloatDeviation(this.scaleDeviation, 3);
    var randomScale = this.baseScale + deviation;

    return new pc.Vec3(randomScale, randomScale, randomScale);
};
Awesome, the asteroids look much nicer. Let's turn our attention back to our background for a moment as it looks very static.
- Could we give it some life by adding some ‘background’ asteroids?
- Could we even make destroyed asteroids leave pieces behind as we destroy them?
- The game currently gets harder as time goes on. Maybe we can indicate that visually somehow? Maybe by changing the background texture?
Let's implement these ideas!
For the background asteroids, I simply reused our asteroid spawner class, but moved the spawn points a bit below.
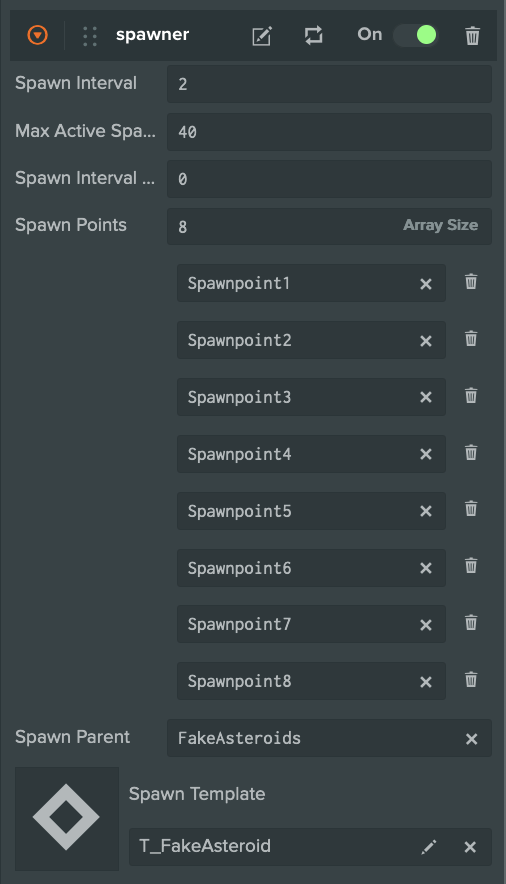
To make it as non-impactful on performance as possible, I duplicated our template, renamed it to FakeAsteroid and removed all components, except the Mover and Rotator components.
This is one of the beauties of using a component-based architecture! It allows you to quickly alter the behavior of objects without having to write or modify code at all!
I also made the FakeAsteroid texture much darker, so as not to distract or confuse the player.
My approach to the ‘fragment’ asteroids was similar, except I made them much smaller, and gave the regular asteroids a component to spawn fragments on death.
FragmentSpawner.attributes.add('minMaxCount', {
    type: 'vec2',
    title: 'Min, Max Count',
    description: 'The minimum and maximum amount of fragments to spawn.'
});

FragmentSpawner.prototype.spawnFragments = function () {
    if (FragmentSpawner.fragmentParent === null) {
        return;
    }

    var spawnCount = getRandomInRange(this.minMaxCount.x, this.minMaxCount.y);

    for (i = 0; i < spawnCount; i++) {
        this.spawnSingleFragment();
    }
};

FragmentSpawner.prototype.spawnSingleFragment = function () {
    var fragment = this.fragmentTemplate.resource.instantiate();
    fragment.reparent(FragmentSpawner.fragmentParent);
    var position = this.getFragmentPosition();
    fragment.setPosition(position);
};
And, while we’re at it, why don't we add a dust puff and small particles when the asteroid gets destroyed to complement our fragments?
I gathered a few textures online, duplicated our bullet hit particle effects and modified them. To spawn the particle effects, I used the same component I had used in the bullet:
// A script that spawns a particle effect on death
var DeathEffect = pc.createScript('deathEffect');

DeathEffect.attributes.add('particleEffects', {
    type: 'asset',
    assetType: 'template',
    array: true,
    title: 'Particle Effect Templates',
});

DeathEffect.effectParent = null;

// initialize code called once per entity
DeathEffect.prototype.initialize = function () {
    this.entity.on('destroy', this.onDestroy, this);

    if (!DeathEffect.effectParent) {
        DeathEffect.effectParent = this.entity.parent;
    }
};

DeathEffect.prototype.onDestroy = function () {
    for (var i = 0; i < this.particleEffects.length; i++) {
        var effect = this.particleEffects[i].resource.instantiate();
        effect.setPosition(this.entity.getPosition());
        effect.reparent(effectParent);
    }
};
And lastly for the background, I added a script to lerp the transparency of our blue space material towards 0. This slowly reveals a purple material underneath.
// A script that manages ambient color.
var AmbientManager = pc.createScript('ambientManager');

AmbientManager.attributes.add('startingColor', {
    type: 'rgba',
    title: 'Starting Color',
    description: 'The starting color for the ambient'
});

AmbientManager.attributes.add('finalColor', {
    type: 'rgba',
    title: 'Final Color',
    description: 'The final color for the ambient'
});

AmbientManager.attributes.add('targetMaterial', {
    type: 'asset',
    assetType: 'material',
    title: 'Target Material',
    description: 'The material whose color to set (Matching the ambient color)'
});

// initialize code called once per entity
AmbientManager.prototype.initialize = function () {
    this.updateTransition(0);
};

AmbientManager.prototype.updateTransition = function (transitionProgress) {
    var color = new pc.Color();
    color.lerp(this.startingColor, this.finalColor, transitionProgress);

    var mat = this.targetMaterial.resource;
    mat.emissive = color;
    mat.opacity = color.a;
    mat.update();
};
Here's the end result with all of our asteroid changes:
It looks amazingly better! Already a massive difference from our starting point.
Colliding With Asteroids
The last piece of the puzzle is when asteroids hit us! It needs to feel impactful! As if you were in a car, and the car just went over a bump.
We'll want to communicate it a bit better. Right now, all that happens is that the ‘n lives left’ counter in the top left gets decremented. Not only does it need to be obvious that we've got hit, but the player must be able to consult how many lives left he has at a glance.
I downloaded the model for our spaceship, and made a top-down render of it in Blender. The result was a simple plain icon:
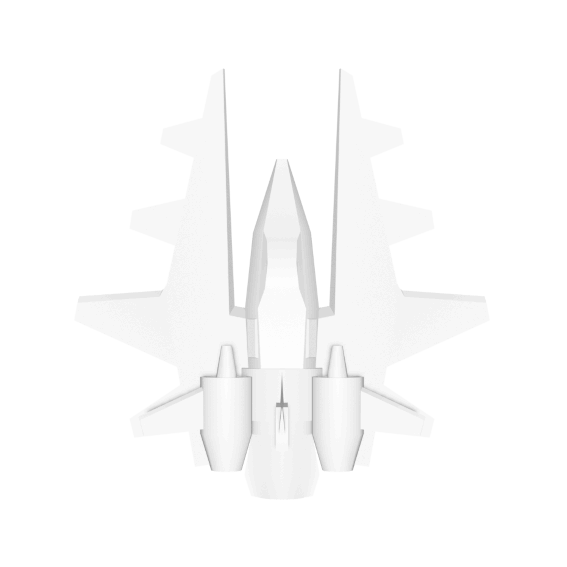
Plain, but enough to make a health counter with. Let's make it semi transparent and add it to the world. Our health counter will display from one to three of these icons to indicate how much life we've got left.
To give it some more juice, let's also make it ‘jump up’ when our health changes, and rotate it inwards towards the game world, to give it a 3D appearance.
And, since using components makes it easy, let's do the same to our score counter:
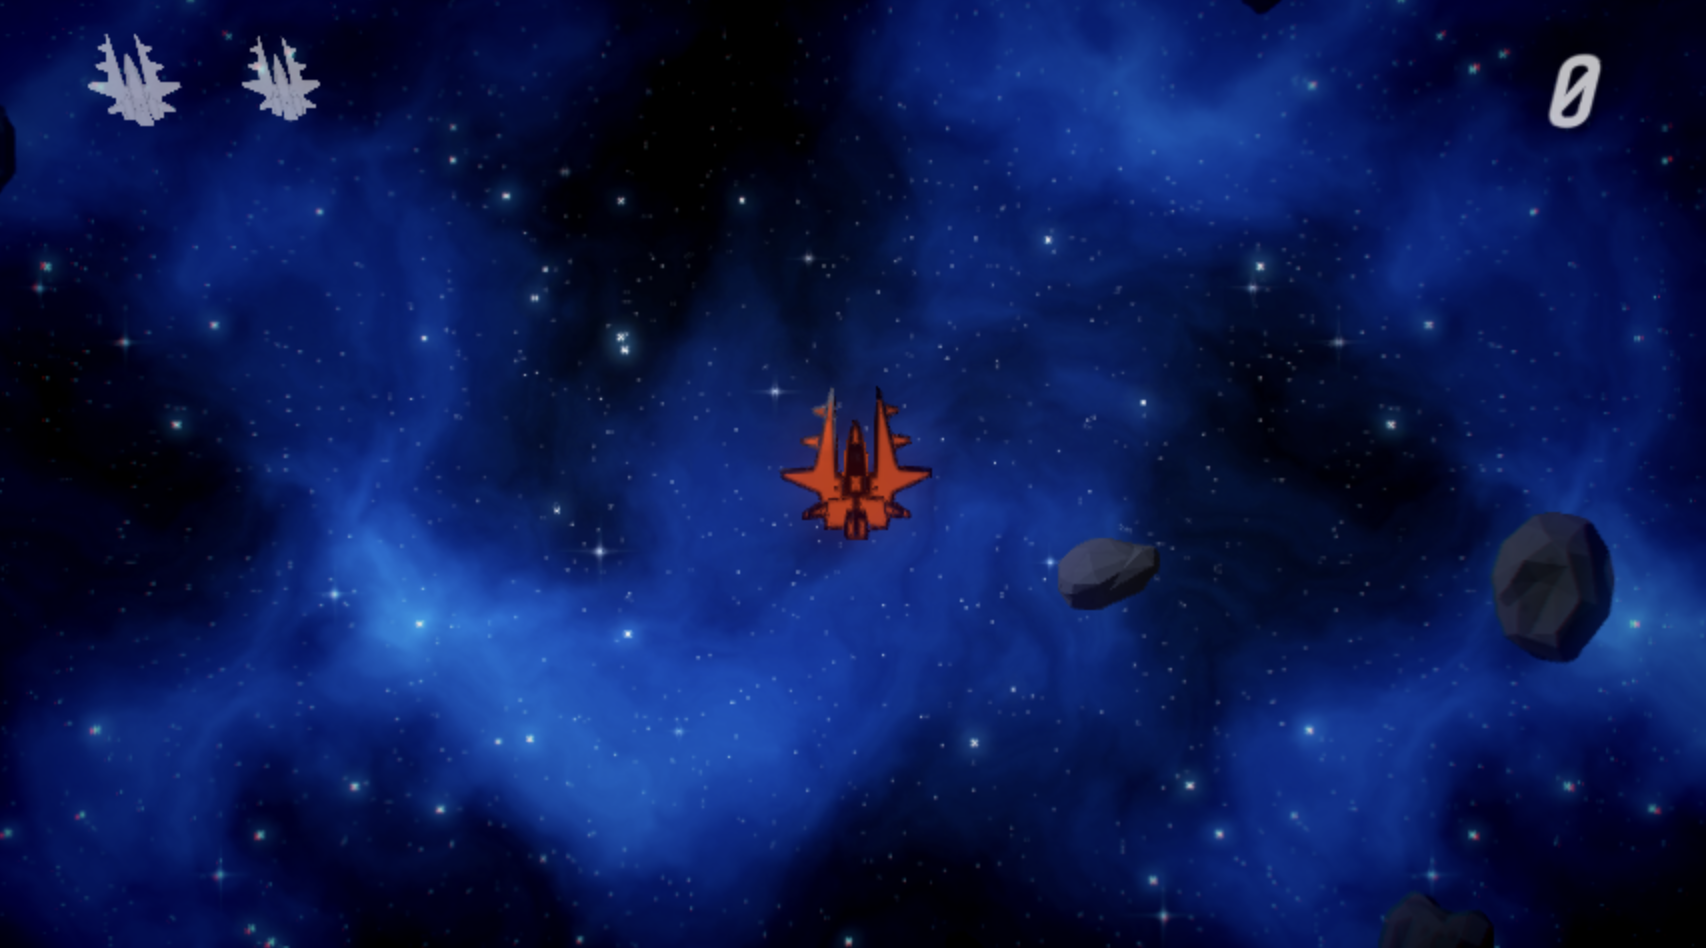
Much simpler, and much nicer!
Next up, let's try to emulate that ‘bump’ feeling. We can do this by adding some screen shake whenever we get hit! And for extra impact, we can make it slow-mo as well!
Making it slow mo is fairly simple - one component does it:
var BulletTimeEffect = pc.createScript('bulletTimeEffect');

BulletTimeEffect.attributes.add('effectDuration', {
    type: 'number',
    default: 1,
    title: 'Effect Duration',
    description: 'How long the bullet time effect should last.'
});

BulletTimeEffect.attributes.add('timeCurve', {
    type: 'curve',
    title: 'Time Curve',
    description: 'How much the time scale should be over unscaled time.'
});

// initialize code called once per entity
BulletTimeEffect.prototype.initialize = function () {
    this._time = 0;
    this.entity.on('destroy', function () {
        this.app.timeScale = 1;
    }, this);
};

// update code called every frame
BulletTimeEffect.prototype.update = function (dt) {
    this._time += (dt / this.app.timeScale) / this.effectDuration;
    this.app.timeScale = this.timeCurve.value(this._time);
    this.app.timeScale = Math.min(1, this.app.timeScale);
};
As for making the screen shake, it's a bit more complex (though certainly not magic!). The underlying logic is to simply move the camera randomly. To do so, we can use a script that tracks the camera's original position, and translates it randomly. We reset to the original position at the beginning of each new frame, and repeat.
this.entity.setPosition(originalPosition);
this.entity.translate(this.getRandomTranslation());
The above getRandomTranslation() method could simply return a random Vector3, and it would work. Problem is, though, this approach can make the camera feel like it is jittering, not shaking, particularly if the shake distance is large. This can cause motion sickness.
What else can we do then? Well, there is a more mathematically complex way of getting a random number - one that makes it so that our shaking is smooth, not jittery. This way of getting a random number is Perlin Noise!
Perlin Noise is used to create awesome things all over media, from explosion visual effects to Minecraft's world generation. If you're interested in the math or simply curious, you can learn more in this excellent article.
Let's go with Perlin Noise for our game. You can see the implementation we went with in the perlin-camera-shake.js and perlin-noise.js script.
Lastly, let's add a small shockwave whenever we get hit! Let's use a particle system for this - just like with the asteroid explosion and bullet hit effects. I grabbed a simple circular texture, coloured it red to indicate something negative, and added a script that spawns the effect whenever the player gets hit.
The combined effects look like this:
You'll notice I've added screen shake to more than just the player getting hit! I'm a big fan of this effect, so I've added it to asteroid explosions and firing bullets as well!
And that about does it
With the effects we added above, the game looks and plays entirely different. Destroying asteroids feels good, and everything else in the game is there to enhance that experience.
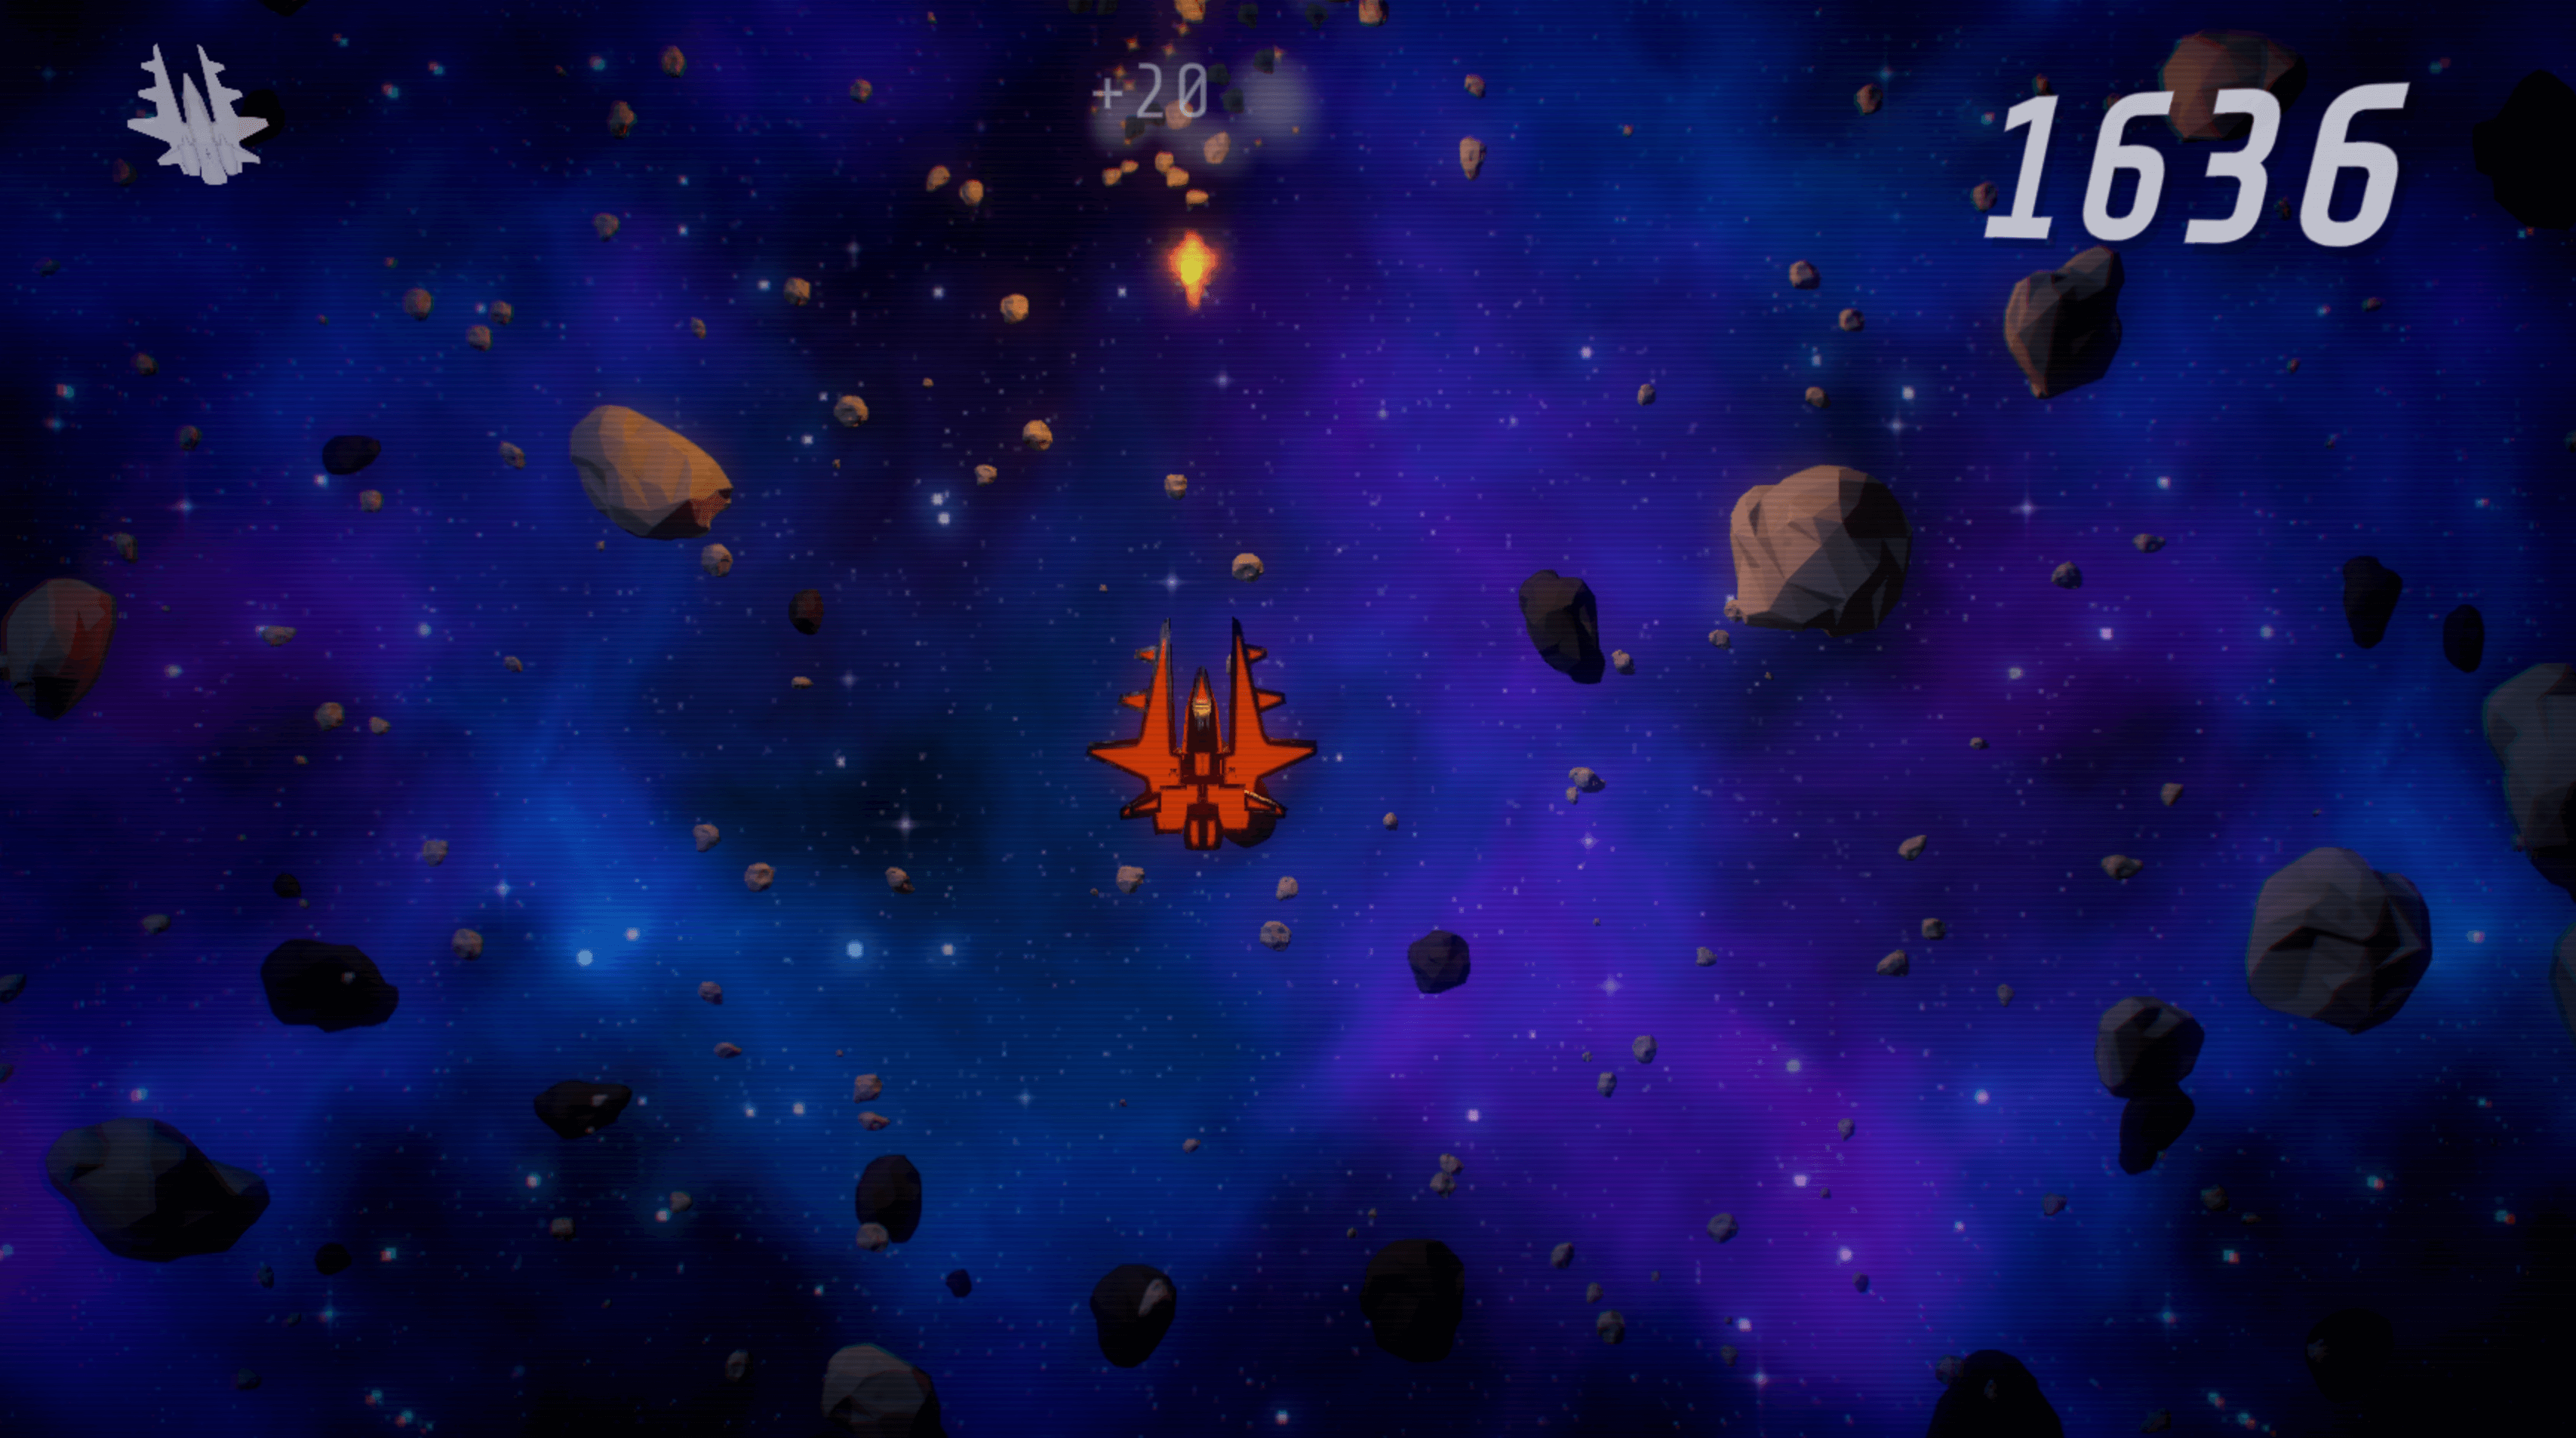
As a last finishing touch, I went ahead and added a few post-processing effects that PlayCanvas offers. Namely, Vignette, Bloom and Chromatic Aberration. I also added CRT Scanlines as an overlay for a retro effect.
I hope this guide has been useful to you! Take a look at the project, it is public and is accessible as a Game Demo in our documentation.
PlayCanvas is an excellent cloud-based game engine that allows you to build games for the browser. It has an amazing editor that allows you to use it as if it were Unity or Unreal - which most developers are accustomed to.
Want to learn more?
Here's a few resources if you want to try and make something similar to juice up your game!
PlayCanvas is an awesome web-first game engine that runs on the cloud. You don't need to download anything, and it's free!
PlayCanvas - The Web-First Game Engine
This one reddit post sums up many tricks you can do in about 60 seconds!
There's this very nice GDC talk that goes into game juice a bit more deeply. Tons of useful information there!
Juice it or lose it - a talk by Martin Jonasson & Petri Purho
And there's this awesome INDIGO class that goes in-depth about my favorite game juice - screen shake!