PLAYHACK November - Turrets and shooting bullets

As this is our first PLAYHACK we thought it would be sensible to start with a few tips and tutorials to get you going. We’ll follow up with more of these throughout the week. Don’t forget, these are just examples. You can make any game you like.

Rotating Turret
In the previous blog posts we set up keyboard controls to move the tank by apply forces to the rigidbody. Now we going to add separate controls to rotate the tanks turret. You try this project for yourself by running this scene.
initialize: function () {
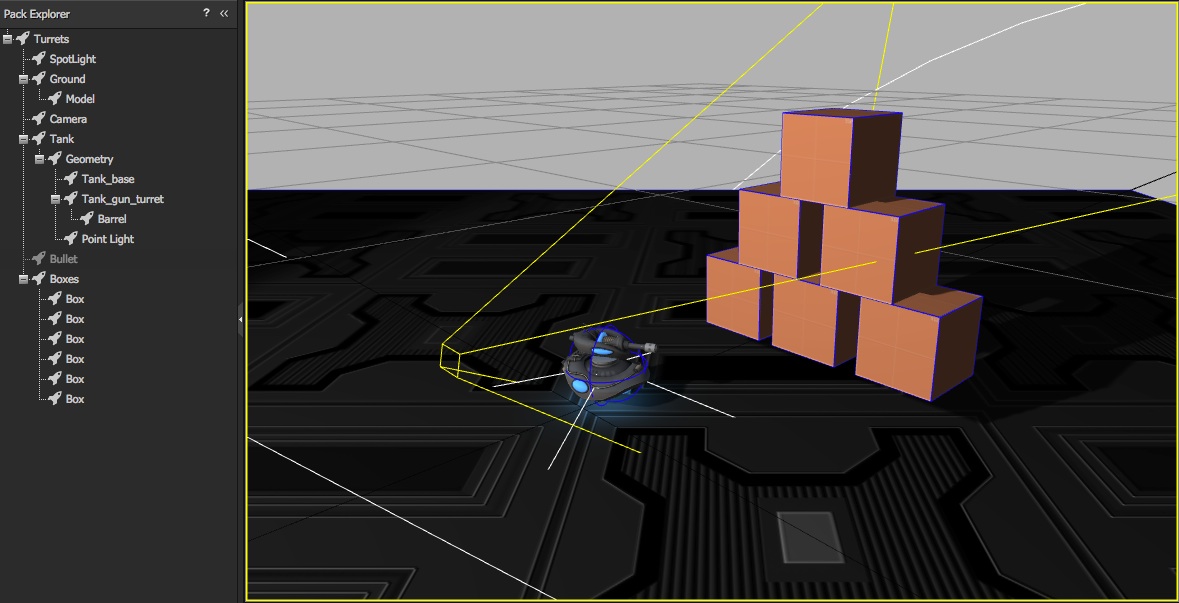
this.turret = this.entity.findByName("Tank_gun_turret");
this.bullet = context.root.findByName("Bullet");
this.barrel = context.root.findByName("Barrel");
},
update: function (dt) {
// Rotate the turret left and right using A and D
if (context.keyboard.isPressed(pc.input.KEY_A)) {
this.turret.rotate(0, this.speed * dt, 0);
} else if(context.keyboard.isPressed(pc.input.KEY_D)) {
this.turret.rotate(0, -this.speed * dt, 0);
}
if (context.keyboard.wasPressed(pc.input.KEY_S)) {
this.shoot();
}
},
This is the code in turretcontrols.js. It's very simple. In the initialize function we find the Entity called Tank_gun_turret. This Entity is the separate model for the gun turret. Then each frame we check to see if the A or D key is pressed and we rotate the turret to the left or right using the rotate() method on the Entity.
Shooting Bullets
shoot: function () {
    var bullet = this.bullet.clone();
    context.root.addChild(bullet);
    bullet.setPosition(this.barrel.getPosition());
    bullet.enabled = true;

    this.force = new pc.Vec3();
    this.force.copy(this.turret.forward);
    this.force.scale(-this.impulse);

    bullet.rigidbody.applyImpulse(this.force);
}
Take a look at the shoot() function above. This is called when the player presses the S key. It introduces a few different concepts:
Entity.clone()
The clone() method on Entities creates a complete copy of the Entity and its components. When you clone an Entity it is created but not added into the scene hierarchy so you have to call the addChild() method and add it to the parent of your choice. In this case, we're just adding it to the root.
Enabling and Disabling Entities
The bullet Entity we are cloning from is disabled in the Designer because we don't want this extra bullet in the scene. After we have cloned the Entity we want to enabled the bullet which means that the model component is enabled (it start's rendering) and the rigidbody is enabled (it starts simulating/colliding).
To fire the bullet, we clone it, add it into the hierarchy and set it's position to the location of the gun barrel entity. After we've enabled the bullet, we apply an impulse to kick it off in the direction of the turret.
Target Practice
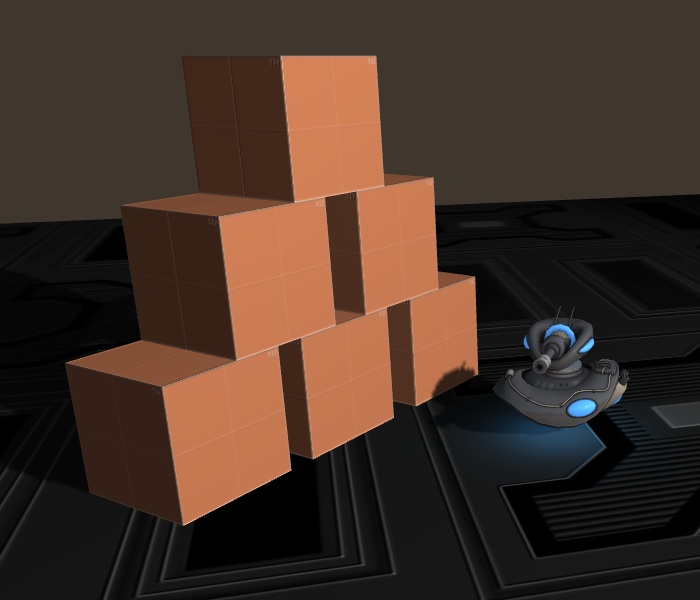
Finally we've just added some boxes for target practice. The boxes are simply Entities with a dynamic rigidbody and a collision component. Don't forget you try this project for yourself by running this pack.
PLAYHACK
PLAYHACK is our monthly game jam. We’ll give you a starting point and you have a month to build a game. The winner is featured on our frontpage and wins fame and glory everlasting!
Not started work on your PLAYHACK game yet? What are you waiting for go fork this project!
