The Making of Seemore WebGL

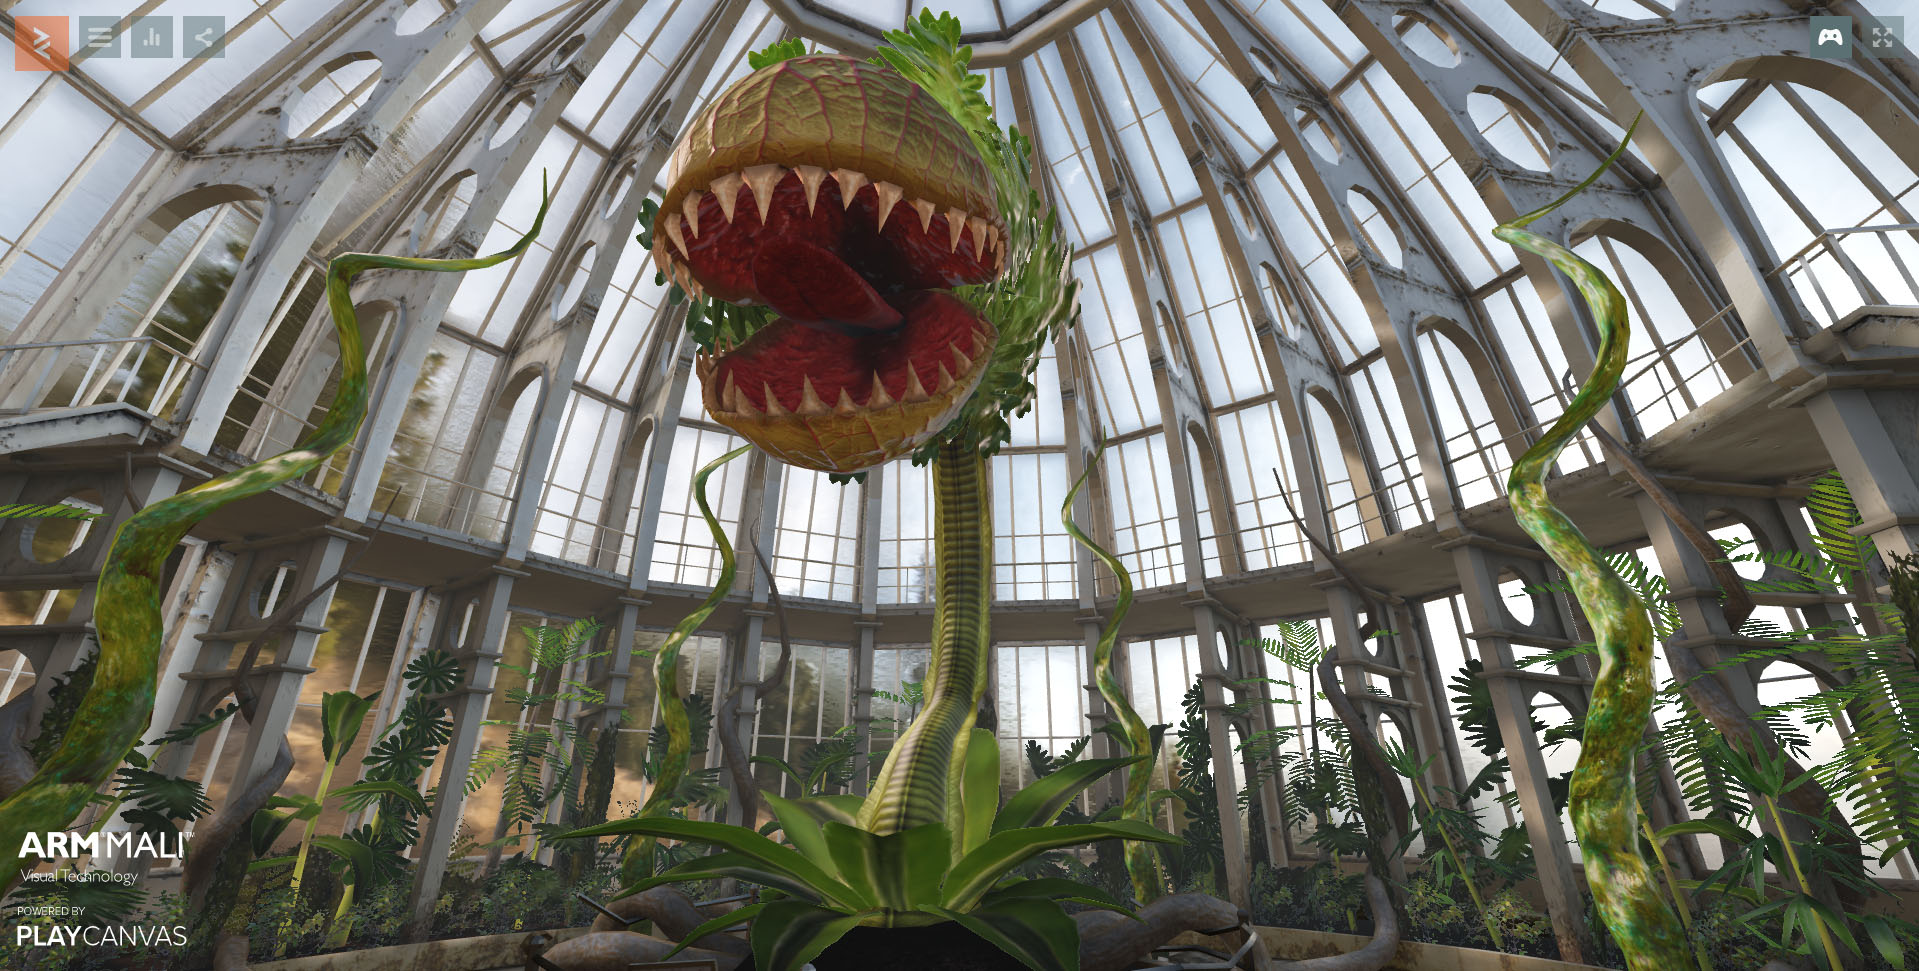
At GDC 2015, ARM and PlayCanvas unveiled the Seemore WebGL demo. If you haven’t seen it yet, it takes WebGL graphics to a whole new level.
 CLICK HERE TO LAUNCH SEEMORE
So why did we build this demo? We had two key goals:
- Put amazing demo content in the hands of you, the developer. Seemore WebGL is the first conference demo that has been developed to run specifically in the web browser. This is great, because you can run it for yourself and do so on any device. Nothing to download and install - hit a link, and you’re immediately dropped into a stunning 3D experience. And better yet, you can learn from the demo and use that knowledge in your own creations.
- Demonstrate console quality graphics on mobile. ARM Mali GPUs pack a serious graphical punch and Seemore is designed to fully demonstrate this power. We have taken advanced graphical features seen in the latest generation of console titles and optimized them to be completely mobile friendly. And best of all, all of this technology is open sourced on GitHub.
It's not practical to examine all of the engine updates we made to bring Seemore to life. So instead, let’s examine three of the more interesting engine features that were developed for the project.
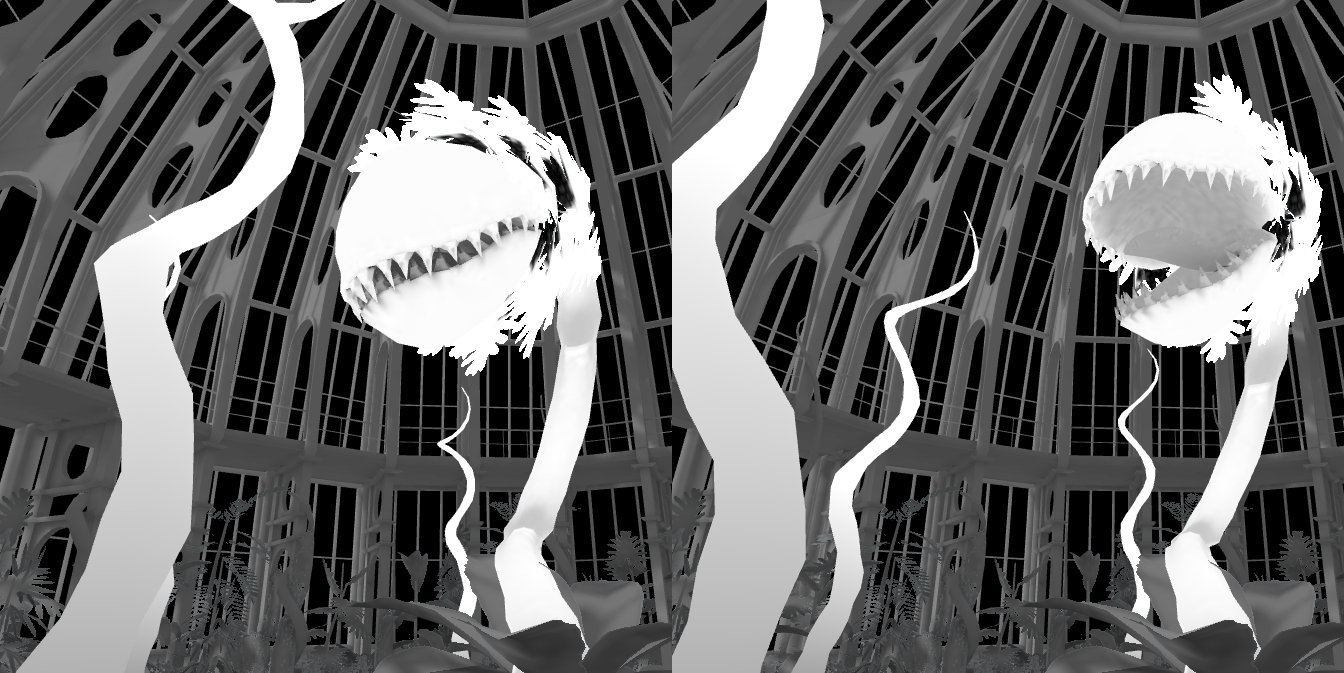
Prefiltered Cubemaps
This is the generation and usage of prefiltered cubemaps. Each mipmap level stores environment reflection at different level of surface roughness - from mirror-like to diffuse.

How We Did It
First, we added a cubemap filtering utility to the engine (GPU-based importance sampling). The next step was to expose this functionality in the PlayCanvas Editor. This technique uses Phong lobes of different sizes to pre-blur each mip level. Runtime shaders use either the EXT_shader_texture_lod extension (where supported) or reference mip levels stored as individual textures that are interpolated manually.
Source Code
https://github.com/playcanvas/engine/pull/202
Further Reading
- https://developer.nvidia.com/gpugems/gpugems3/part-iii-rendering/chapter-20-gpu-based-importance-sampling
- https://seblagarde.wordpress.com/2012/06/10/amd-cubemapgen-for-physically-based-rendering/
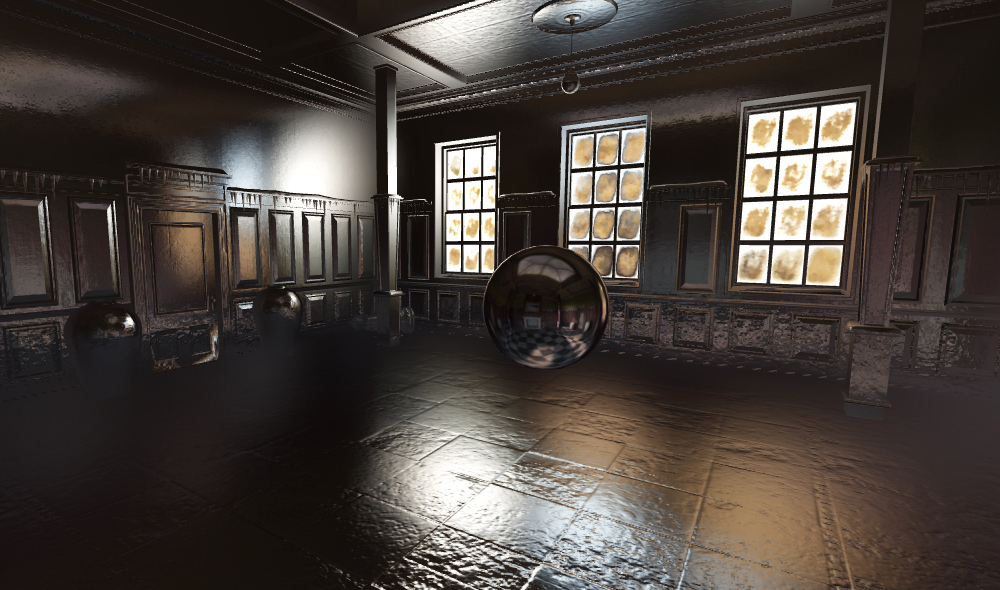
Box-projected Cubemaps
This feature makes cubemaps work as if projected onto the insides of a box, instead of being infinitely far away (as with a regular skybox cubemap). This technique is widely used in games for interior reflection and refraction.
How We Did It
This effect is implemented using a world-space AABB projection. Refraction uses the same code as reflection but with a different ray direction, so the projection automatically applies to it as well.
Source Code
https://github.com/playcanvas/engine/pull/183
Further Reading
Custom Shader Chunks
Standard material shaders in PlayCanvas are assembled from multiple code 'chunks'. Often, you don't want to replace the whole shader, but you'd like to only change some parts of it, like adding some procedural ambient occlusion or changing the way a surface reflects light.
This feature was required in Seemore to achieve the following:
- Dual baked ambient occlusion. The main plant uses 2 AO maps for open and closed mouth states which are interpolated dynamically.
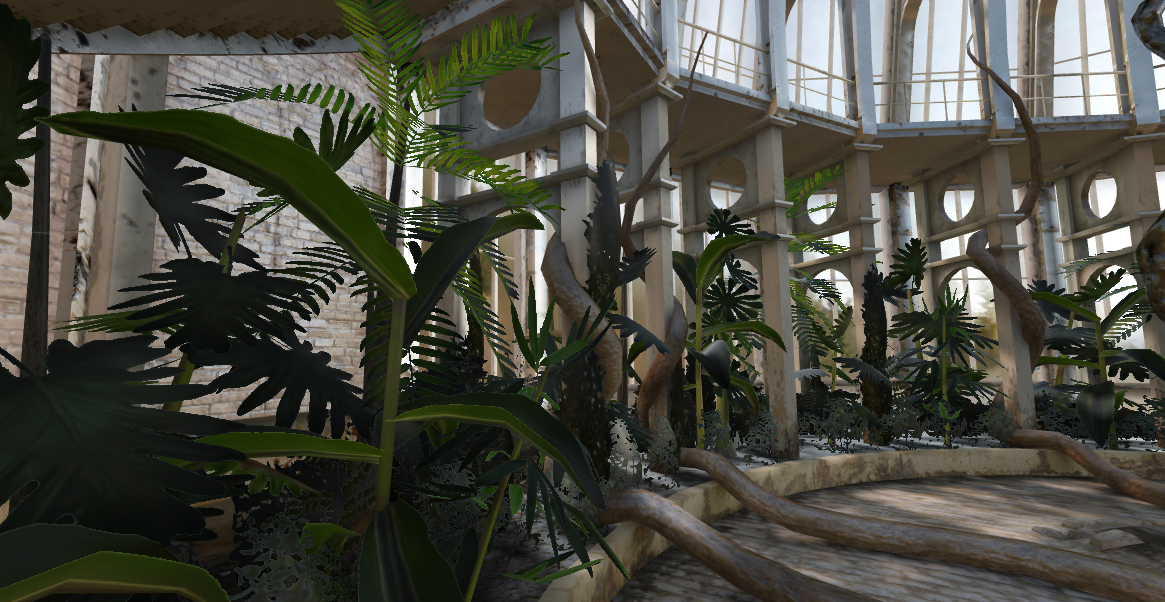
- Fake foliage translucency. This attenuates emission to make it appear as though light is scattered on the back-faces of leaves in a hemispherically lit room. The plant’s head uses a more complex version of the effect, calculating per-vertex procedural light occlusion.
- Plant/tentacle animation. Procedural code that drives vertex positions/normals/tangents.


How We Did It
Shader chunks are stored in the engine sourcebase as .vert and .frag files that contain snippets of GLSL. You can find all of these files here. Here’s an example chunk that applies exponential squared fog to a fragment:
uniform vec3 fog_color;
uniform float fog_density;

vec3 addFog(inout psInternalData data, vec3 color) {
    float depth = gl_FragCoord.z / gl_FragCoord.w;
    float fogFactor = exp(-depth * depth * fog_density * fog_density);
    fogFactor = clamp(fogFactor, 0.0, 1.0);
    return mix(fog_color, color, fogFactor);
}
Each chunk file’s name becomes its name at runtime, with PS or VS appended, depending on whether the chunk forms part of a vertex or pixel shader. In the case above, the filename is fogExp2.frag. It’s a simple matter to replace this fragment on a material. Simply do:
material.chunks.fogExp2PS = myCustomShaderString;
Source Code
https://github.com/playcanvas/engine/pull/172
So there you have it. A brief insight into some of the latest technology in the PlayCanvas Engine. Want to find out more? Head over to GitHub, watch, star and fork the codebase - get involved today!