Anim Layer Masks and Blending
Today, we are releasing the latest anim component feature: the masking and blending of anim layers.
This is a versatile feature that has been hotly requested by PlayCanvas developers that wish to get even more creative with their animations. We’re excited to be able to share how it works in this blog.
Animating characters
When creating complex animation behavior for games, it is often necessary to make a character carry out multiple actions at once. For instance, you might want to create a character that can pick up and carry an item, or shoot a weapon while freely moving around a scene.
To perform these actions at the same time, the upper and lower body of the character must be animated independently. The upper body should be able to move from an idle stance to a shooting stance, and then shoot on demand, all while the lower body moves between idling, walking, running based on the player's command.
A character with two animation layers. A movement layer and a shooting layer masked to the upper body
This effect can be difficult to achieve in most 3D engines, as it usually requires removing certain animated bones in the animation files themselves, before importing those assets into a game project. Only then would a developer be able to create two animation layers, one for movement and another for shooting.
A shooting animation might have all of its lower body bones removed, which would free up the lower body to be animated by the movement layer. In large projects, this can start to become really cumbersome. Adding or removing bones from an animation would require a rebuild of the animation asset in whichever modelling software the developer is using, followed by a reimport of the asset into the PlayCanvas project.
Anim Layer Masks
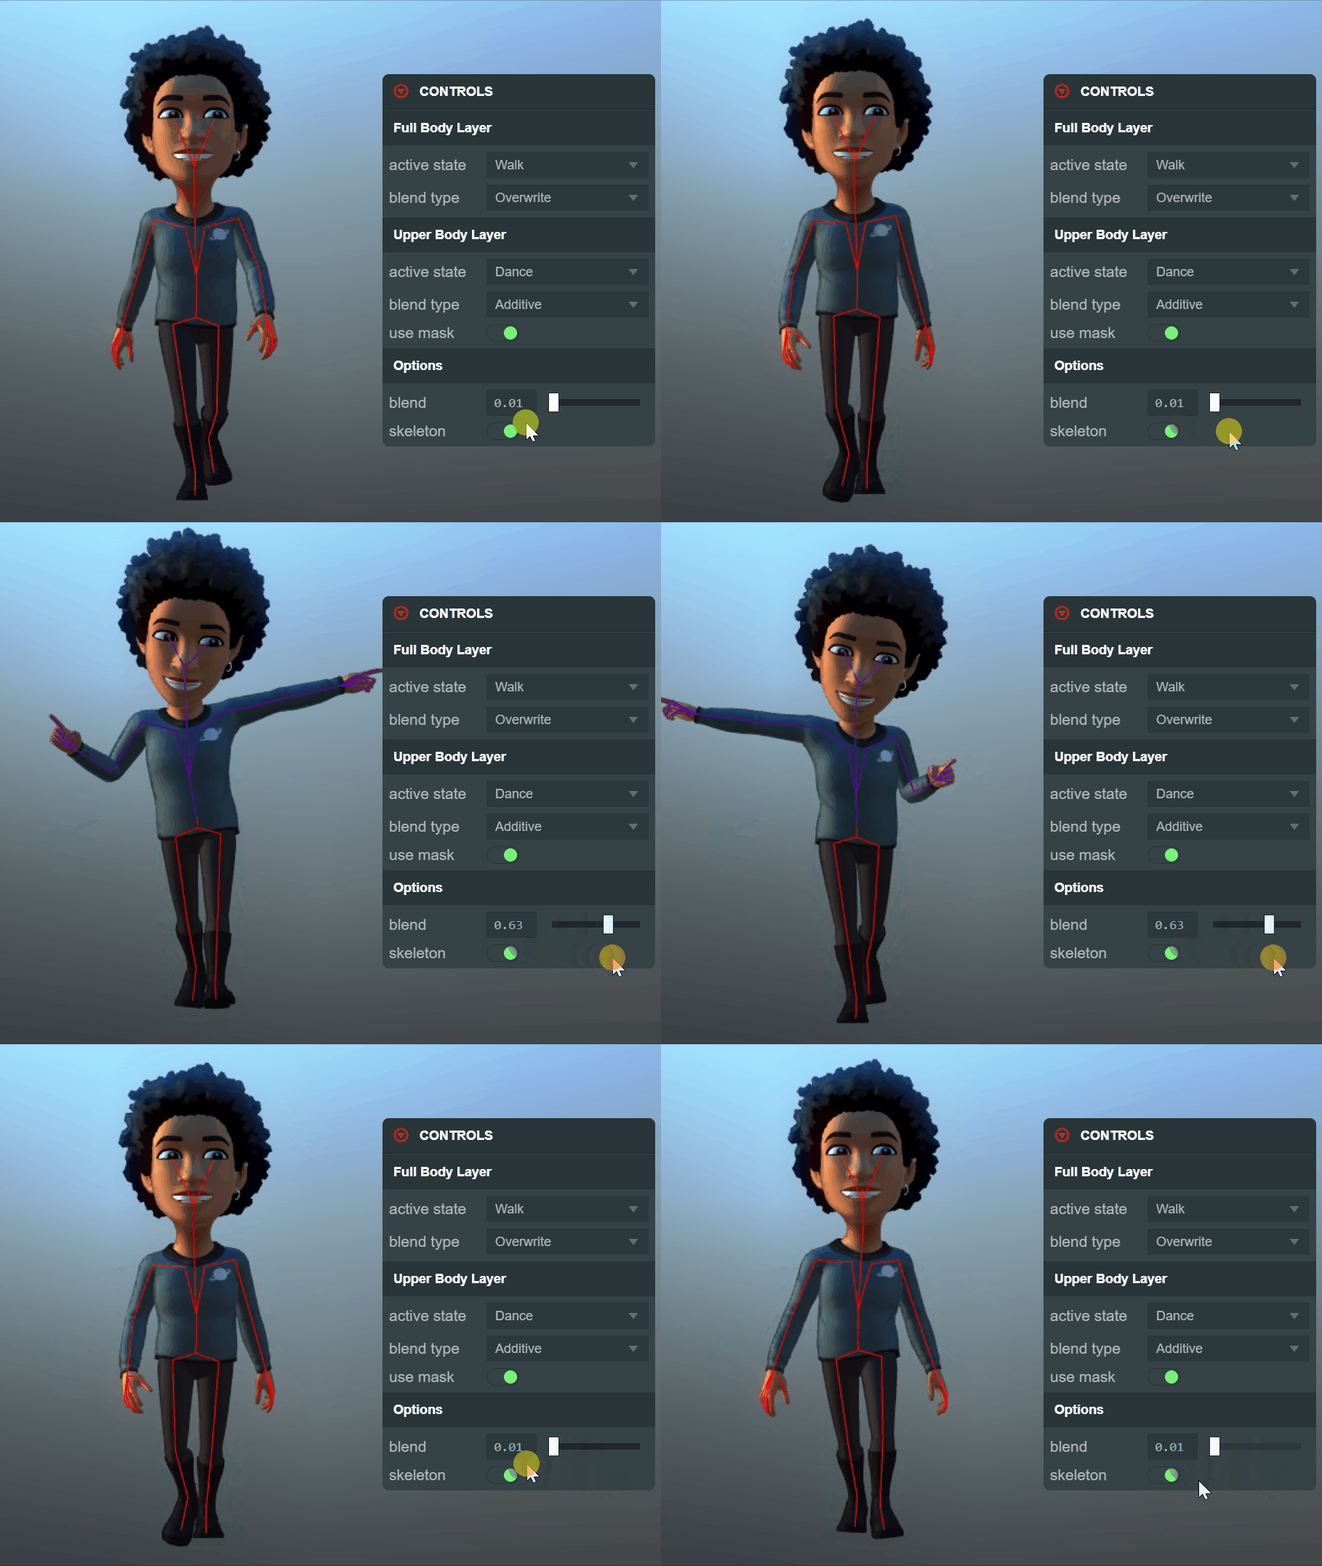
Masks can streamline this workflow by enabling developers to add or remove a model’s bones from an animation layer directly. This means you can select which part of a character a particular set of animations should animate directly in the PlayCanvas editor. Testing out different combinations of character bones now becomes as simple as toggling a few checkboxes.
Creating layer masks in the PlayCanvas editor
By selecting only the bones in the upper body of the character model for an anim layer, you can free up the lower body to be animated by previous layers which would have been overwritten without this upper body mask.
Anim Layer Blending
Previously when using the anim component, you could play any number of animations on top of each other by creating multiple anim layers. However, any animations from subsequent layers that animate the same bones as previous ones will completely overwrite those previous animations.
That meant that even if you were to add a shooting animation to the top half of a character, it would always be playing over a walking animation that was placed on a previous layer.
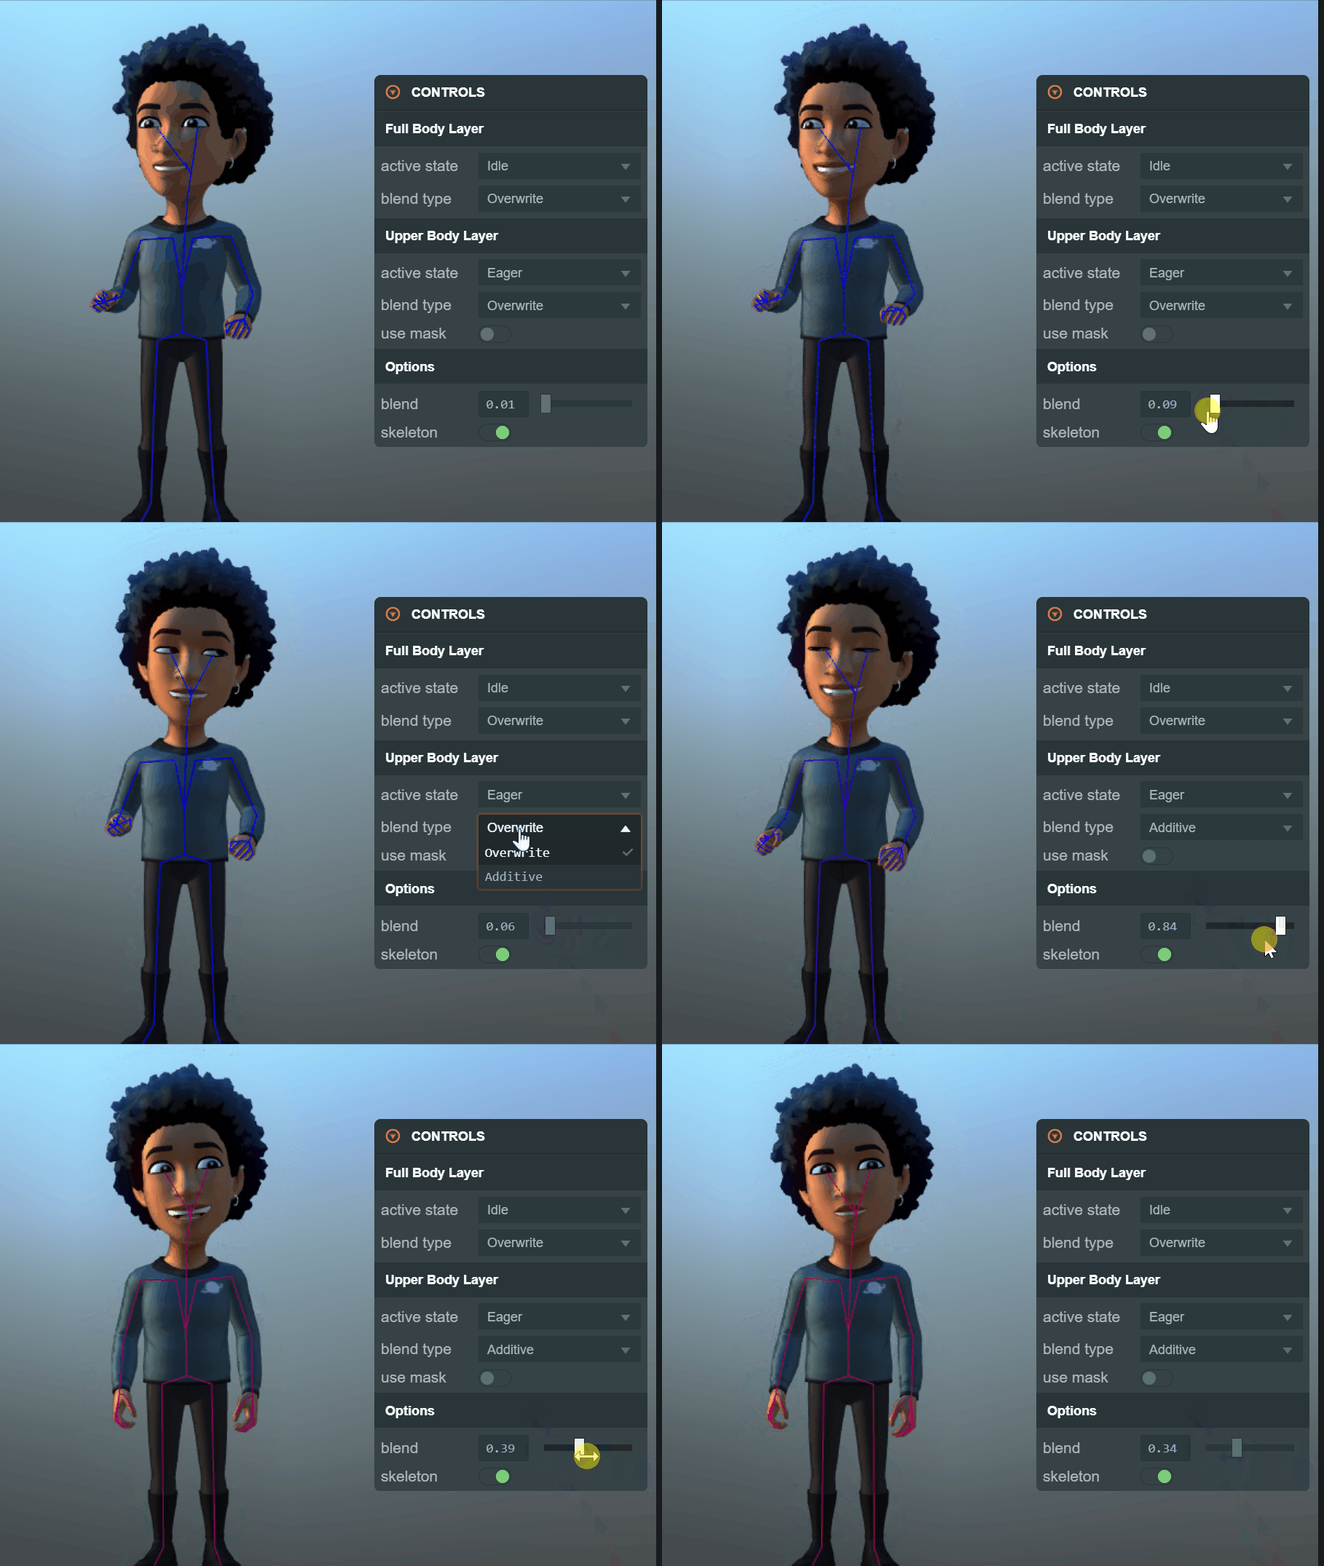
Now with anim layer blending, it is possible to smoothly blend subsequent layers in and out, changing the weight each layer contributes to the characters animation in real time.

Animation layer blending in the PlayCanvas examples browser
When editing an AnimStateGraph asset, you’re now presented with two Blend Type options in each layer. The Overwrite option is set by default and works as before, each subsequent layer completely overwrites the animation values of previous layers.
However, now, if you select the ‘Additive’ option, the anim system will take the weight of each additive layer into account and blend the layered animations accordingly. This is a great way to blend one animation on top of another.
Useful Links
We’re really keen to see what you can create in PlayCanvas using this feature, so be sure to check out the links below so you can begin working with layer masks and blending.

