PlayCanvas now supports Microsoft volumetric video playback

We are very excited to release our showcase demo for Microsoft Mixed Reality Capture Studios (MRCS) volumetric video technology.
PlayCanvas now supports MRCS volumetric video with a playback library for captured footage at their studios. Watch it on desktop, mobile with AR or even in a WebXR-enabled VR headset, all from a single URL!
The library can be easily added to any PlayCanvas project and used to create fantastic immersive mixed reality experiences.
About Microsoft Mixed Reality Capture Studios
MRCS records holographic video - dynamic holograms of people and performances. Your audiences can interact with your holograms in augmented reality, virtual reality and on 2D screens.
They are experts at capturing holographic video, advancing capture technology and have been pioneering its applications since 2010.
Learn more about Microsoft Mixed Reality Capture Studios here.
How was this created?
The demo was created with a combination of several tutorials and kits available on the PlayCanvas Developer Site, the MRCS playback library and freely available online assets.
You can find the public project for the demo here. We've removed the URL to the volumetric video file (due to distribution rights) and the proprietary MRCS devkit library. Please contact MRCS to gain access to the library and example videos.
Microsoft Video Playback Library
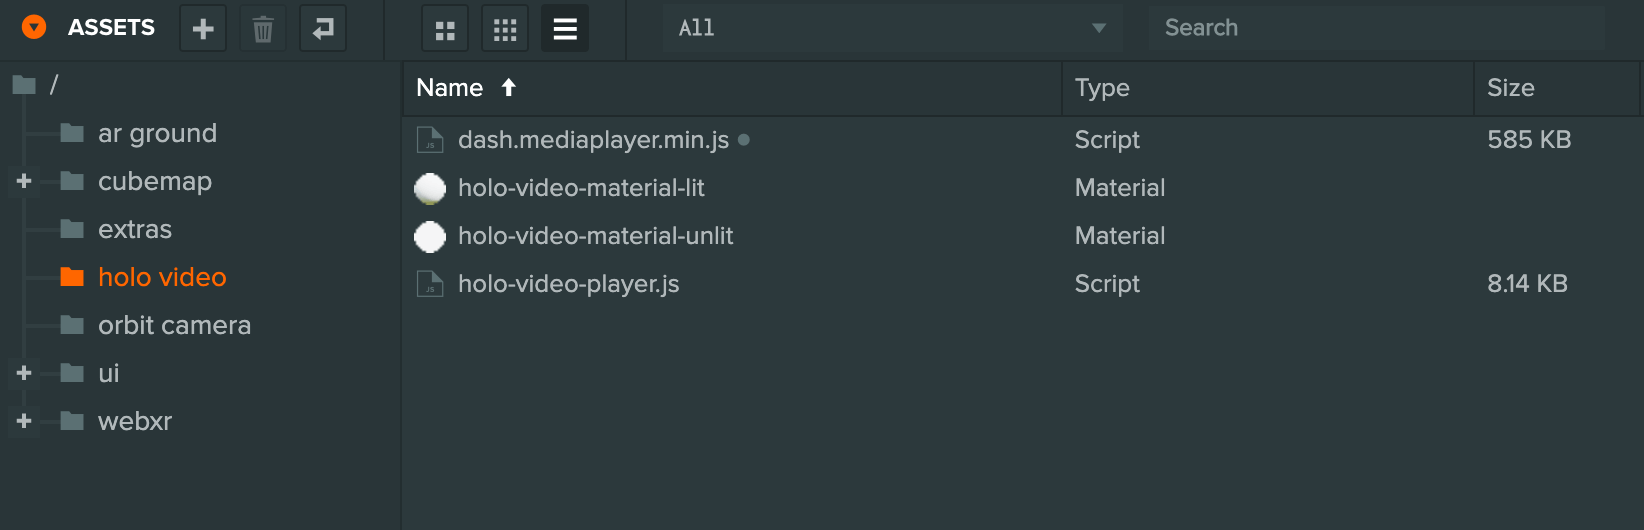
In the folder 'holo video', you will find the scripts and assets needed for playing back volumetric video. You will need to add the devkit library file name 'holo-video-object-umd.js' that will be provided from MRCS to complete the integration and be able to playback video.
Due to the size and how the data files for the video need to be arranged, they have to be hosted on a separate web server (ideally behind a CDN service like Microsoft Azure).
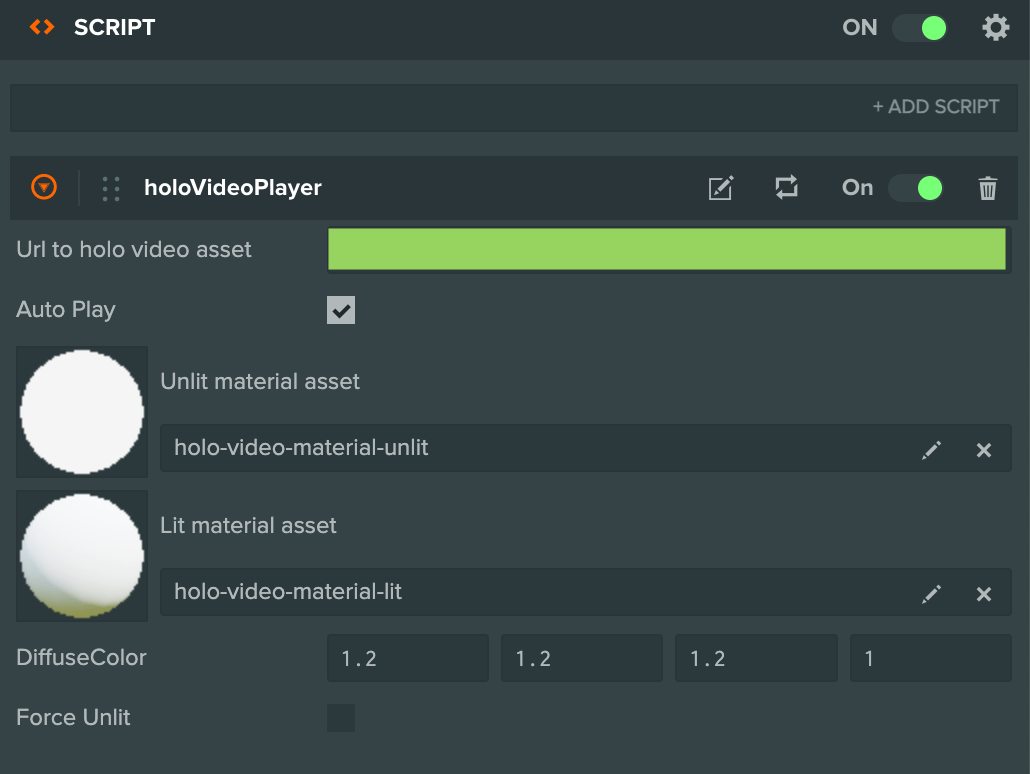
The 'holo-video-player.js' script can be added to any Entity and be given a URL to the .hcap file. At runtime, the script will create the necessary meshes, materials, etc to render and playback the volumetric video.
Expect full documentation to be released soon on our site!
Creating a Multi Platform AR and VR experience
As you see in the video, we've made the experience available to view in the standard browser, AR on WebXR-enabled mobile devices (Android) and VR on devices like the Oculus Quest. iOS support for WebXR is in progress by the WebKit team.
This was done by combining several of our WebXR example projects and the scripts and assets can be found in the 'webxr' folder:
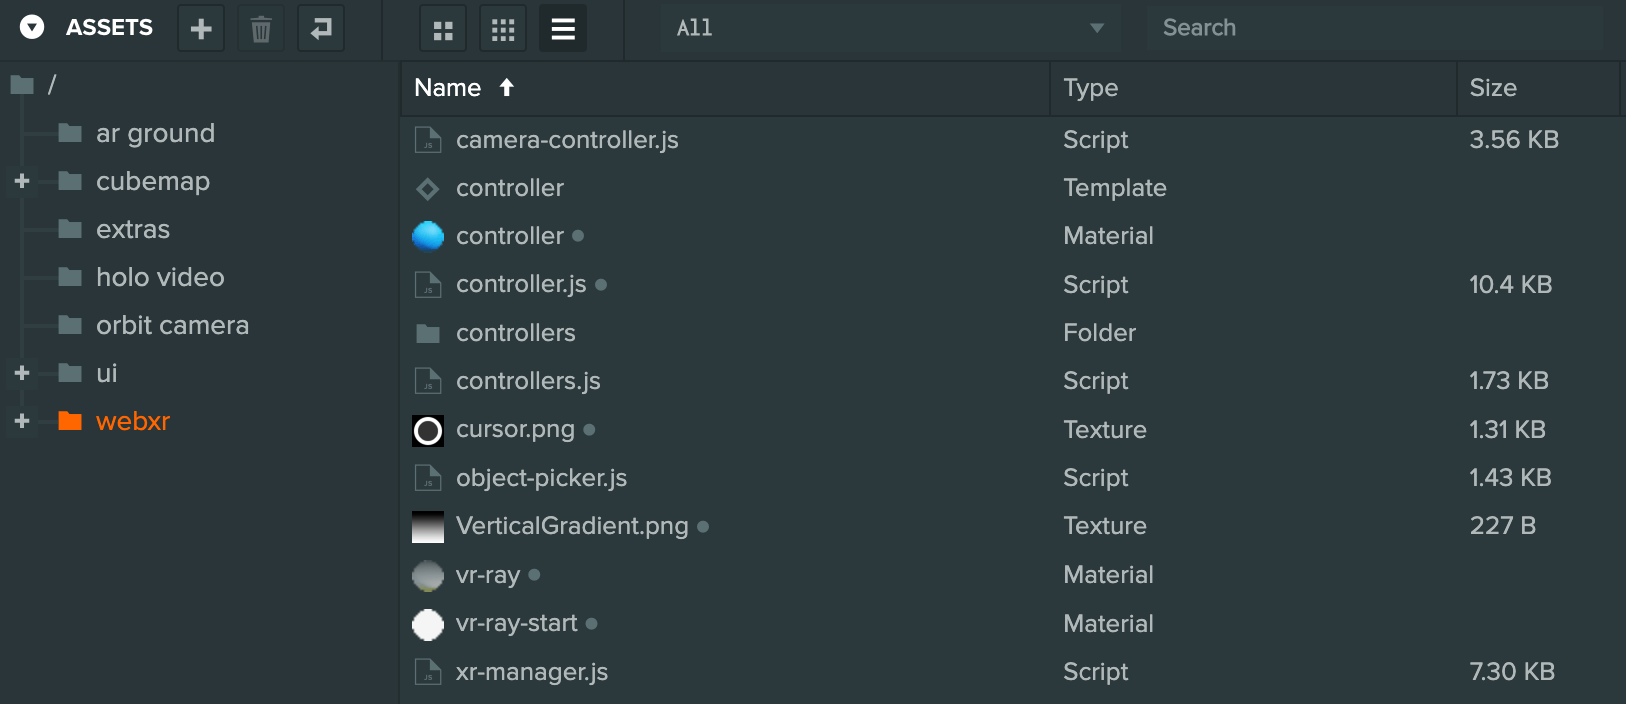
'xr-manger.js' is controls how the XR experience is managed and handled throughout the experience:
- Entering and leaving AR and VR.
- Which UI buttons to show based on the XR capabilities of the device it is running on (e.g hides the VR UI button if AR is available or VR is not available).
- Showing and hiding Entities that are specific to each experience.
- Moving specific Entities in front of the user when in AR so the video can be seen more easily without moving.
Adding AR
AR mode was added first, taking the 'xr-manager.js' script as a base from WebXR UI Interaction tutorial. Key changes that had to be made to the project were:
- Ensuring ‘Transparent Canvas’ is enabled in the project rendering settings.
- Creating a second camera specifically for AR which is set to render the layers that are needed for AR (i.e. not including the skybox layer) and having a transparent clear color for video passthrough).
After copying and pasting 'the xr-manager.js' file from the tutorial project into the demo project, I hooked up the UI elements and buttons to enter AR and added extra functionality to disable and enable Entities for AR and non-AR experiences.
This was handled by adding tags to those Entities that the manager finds and disables/enables when the user starts and exits the XR experiences.
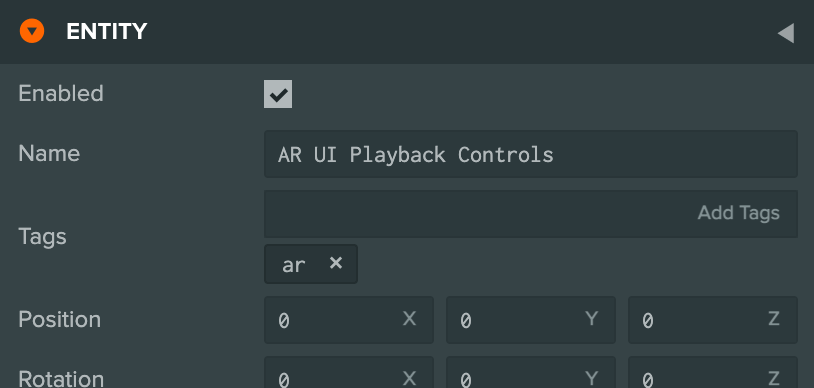
For example, I only want the AR playback controls entity to be available in AR so the tag 'ar' was added to it.
There is also an additional tag 'ar-relative' that is used for entities that need to move in front of the user when the floor is found in AR. It provides a much better experience for the user as they don't have to move or look around to find the content.
When the user leaves the AR session, the Entities are moved back to their original position that were saved when they entered.
Adding VR
This was a little trickier than expected as we didn't have a complete example of the needed functionality and it also had to work with the existing AR functionality.
The goal was for the user to be able to move around holo video and also show the controllers that matched the VR input devices being used.
Our Starter Kit: VR has the scripts and functionality to interact with objects, teleport and move around an environment. We can tag entities in the scene with 'pickable' for the VR object picker logic in object-picker.js to test against when the VR input device moves or the select button is pressed.
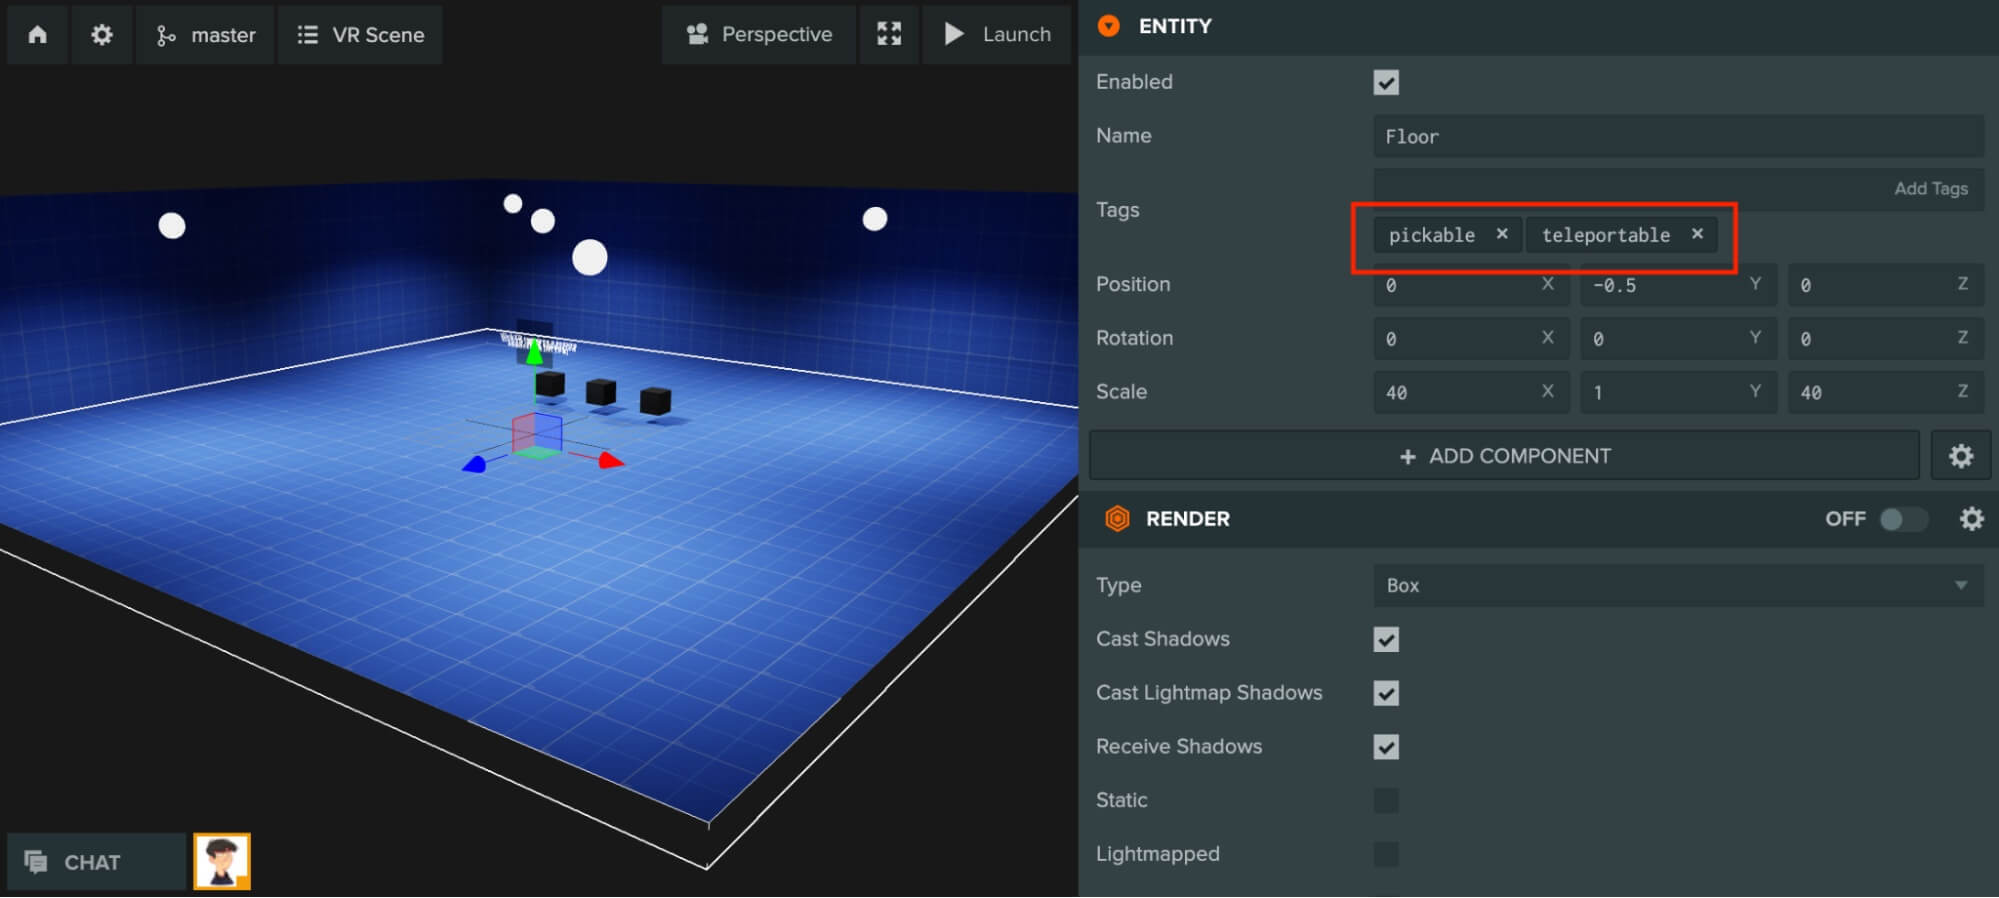
Whether it is an object that we can teleport to or interact with is dependent on the other tags on the Entity.
In this case, the aim was to be able to teleport around the video so an Entity with a box render mesh was added to represent the area and 'pickable' and 'teleportable' tags were added too.
Next up was handling how the controllers should look in VR. The starter kit uses cubes to represent the controllers as they are meant to be replaced with something else by the developer.
In my case, I wanted to use skinned hands or the representations of the VR controllers instead. Max (who built the PlayCanvas WebXR integration) created a project that does just that: WebXR Controller/Hand Models. And it was just a matter of merging the code and assets together.
Projected skybox
The skybox was obtained from Poly Haven and converted to a cube map with our texture tool. Donovan wrote a shader that projected the cubemap so there was a flat floor that the user could move around in.
It's a nice and easy effect that can be applied in similar scenes without having to build a model or geometry. See the scene without the effect applied (left) and with it (right):
The shader code is applied by overriding the global engine chunk in projected-skybox-patch.js on application startup.
World Space UI in VR
In VR, there's no concept of 'screen space' for user interfaces so the playback/exit controls would need to be added somewhere in the world.
It was decided the controls should be placed near the holo-video and would always face the user as, generally, that is where their focus would be.

This was done by simply having UI buttons in world space as offset child Entities of a 'pivot' Entity. The pivot Entity is positioned at the feet of the holo-video and can be rotated to face the VR camera.
This was done by simply having UI buttons in world space as offset child Entities of a 'pivot' Entity. The pivot Entity is positioned at the feet of the holo-video and can be rotated to face the VR camera.
There's a script on the pivot Entity that gets a copy of the VR camera position and sets the Y value to be the same as the pivot Entity's. It then uses that position to look at so that the UI controls always stay parallel to the floor.
The other common place to have UI controls would be somewhere relative to a tracked controller such as on the left hand/controller. I decided against this because it's not always guaranteed that the VR device would have two hands/controllers such as Google Cardboard.
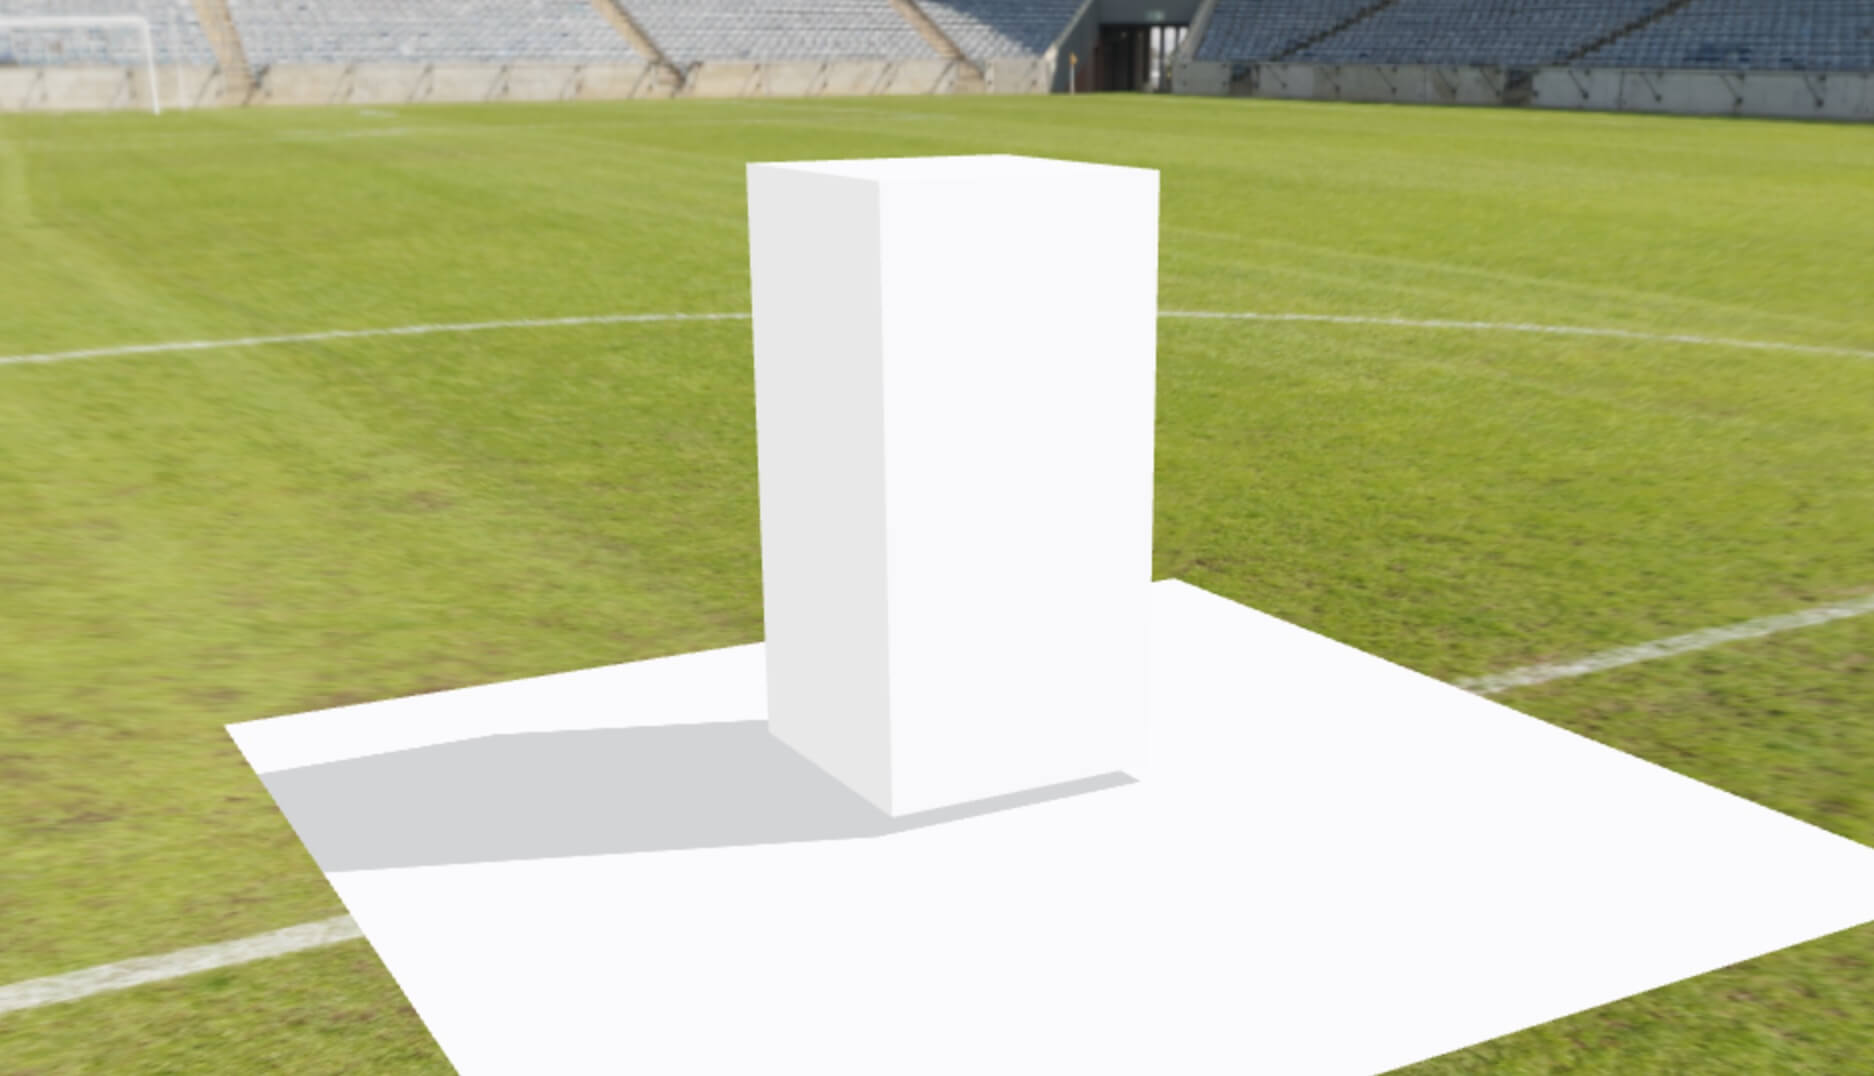
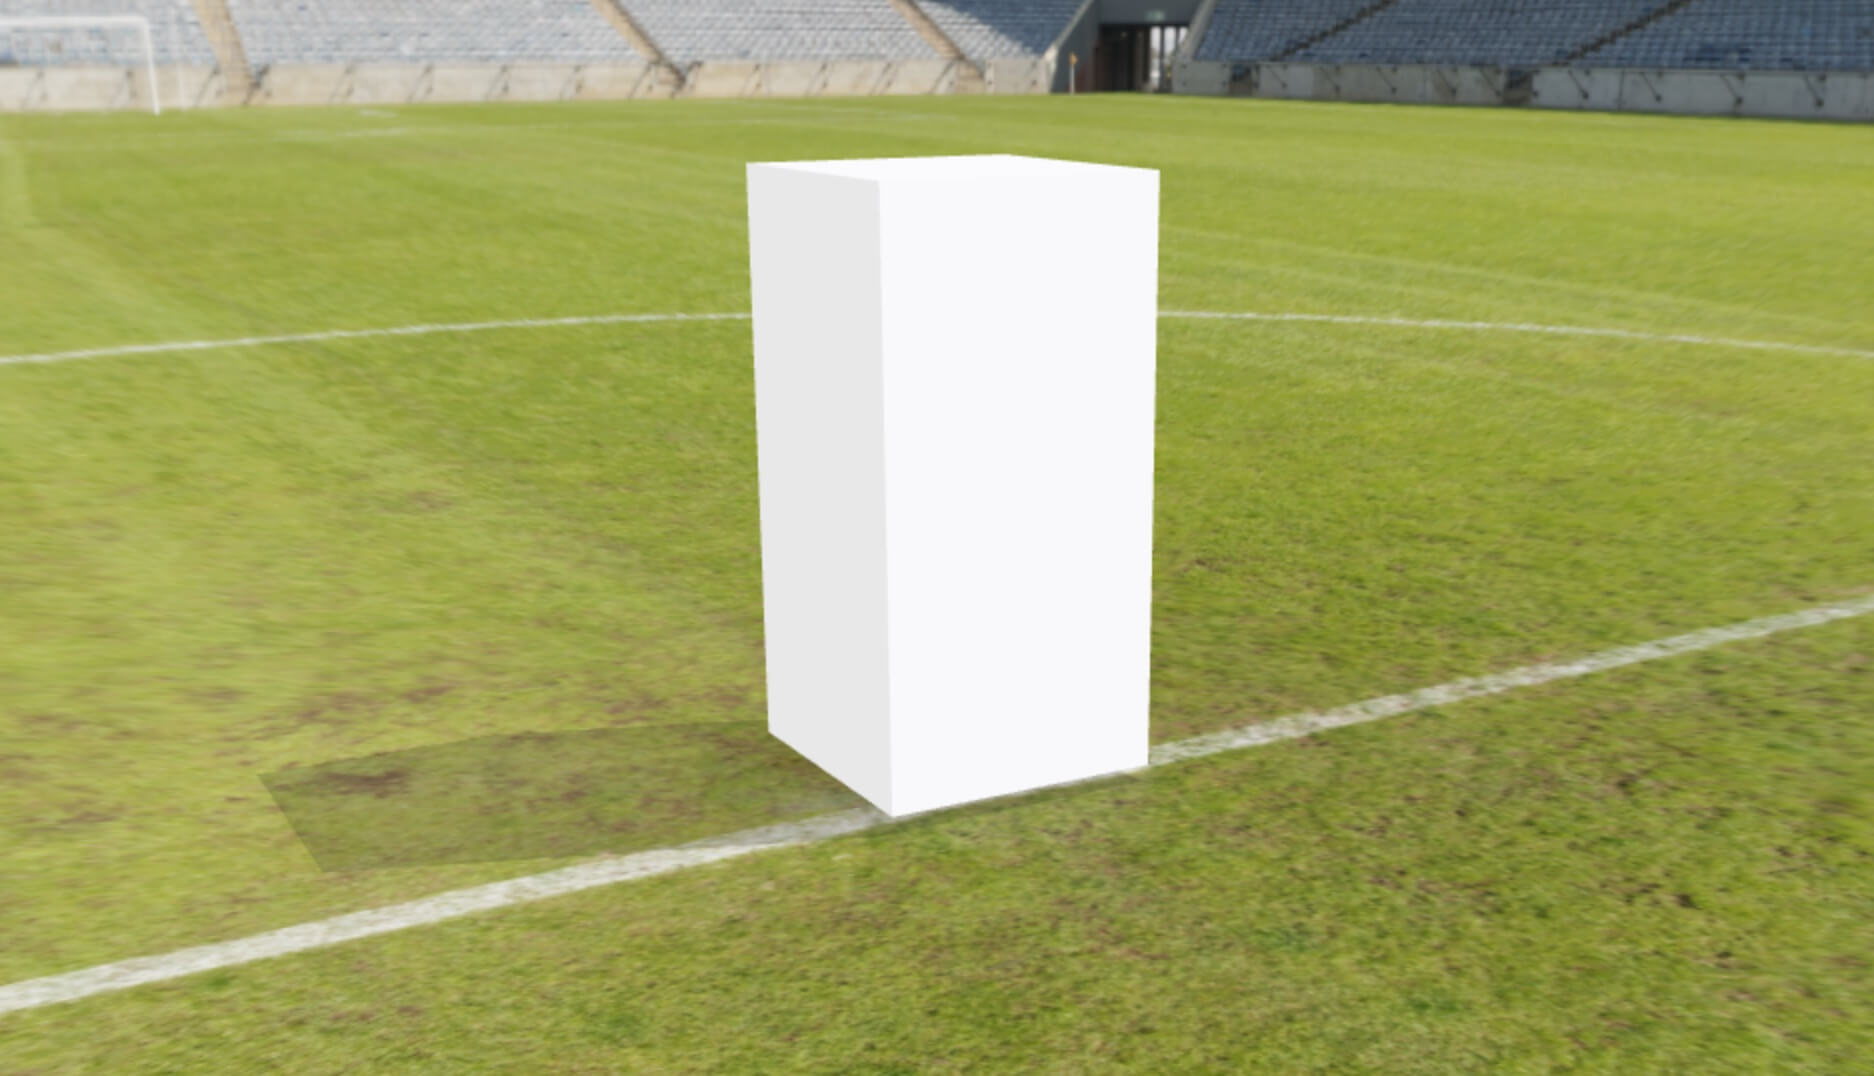
As the 'floor' is just a projected skybox, a solution was needed to render the shadows of the holo-video onto the scene.
Shadow 'catcher' material
Gustav provided a material shader that would sample the shadow map and make any area that doesn't have a shadow fully transparent.
To make this a bit easier to see, I've shown where the plane would be positioned below. Anywhere where it's white on the floor plane would be fully transparent as there is no shadow being cast there.
Other tutorials used
There is other functionality in the experience that has been taken from our tutorial/demo project section that have been slightly modified for this project.
These include:
- Orbit Camera for the non XR camera controls. The orbit camera controls are disabled when the camera entity is disabled so that the camera wouldn't move while in a XR session.
- Video Textures for the Microsoft video on the information dialog. It was modified so that it would apply the video texture directly to the Element on the Entity it was attached to.
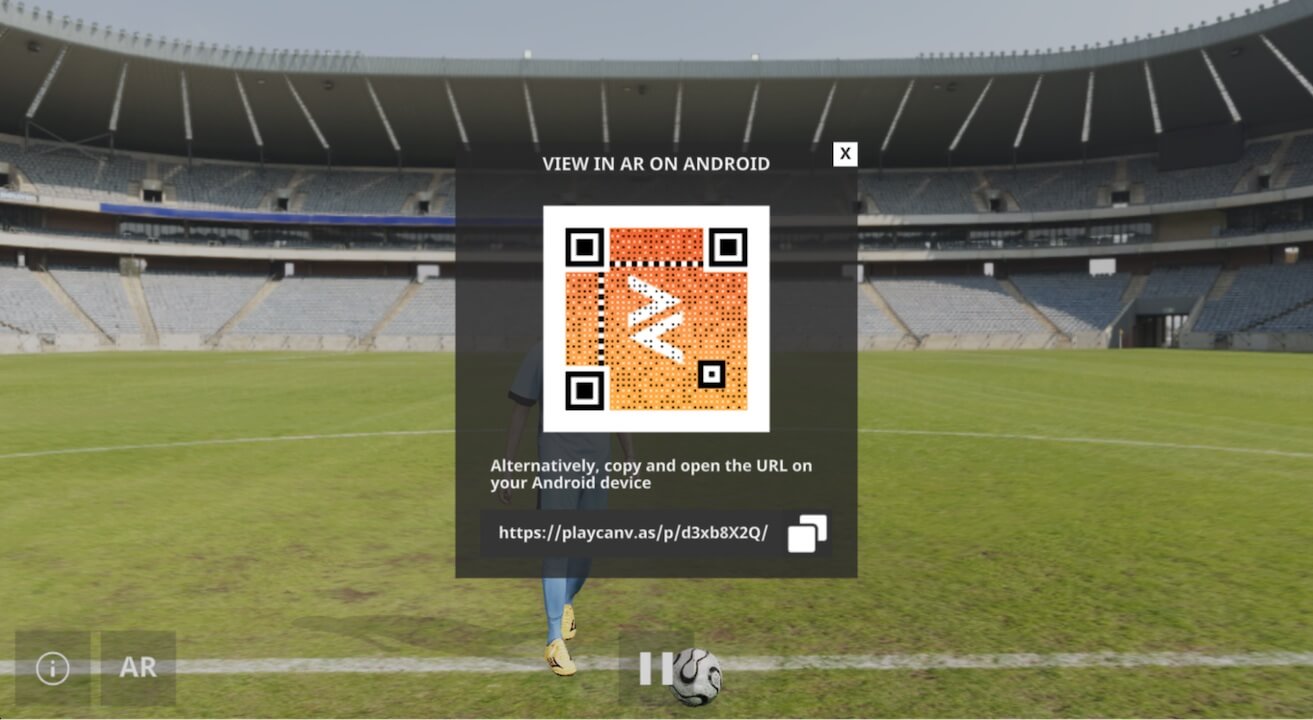
Although not PlayCanvas related, it is worth shouting out: the awesome QR code (that is displayed if the device is not XR compatible) is generated with Amazing-QR. It's able to create colorful and animated QR codes that are more interesting and attractive than the typical black and white versions.
Issues found
There were a couple of issues found while this project was being developed. We will be searching for solutions in the near future. For now, we've worked around them in a couple of ways.
In VR, clustered lighting with shadows enabled causes a significant framerate drop. As the shadows in the project are from the directional light and they are processed outside the clustered lighting system, clustered lighting shadows can be disabled with no visual change.
The demo uses screen space UI in AR and there's an issue with accuracy of UI touch/mouse events when trying to press UI buttons. This is because, when the user enters AR, the engine uses a projection matrix that matches the device camera so that objects are rendered correctly relative to the real world.
Unfortunately, the screen-to-world projections are using the projection matrix directly and instead, using the FOV properties on the camera component. The mismatch is what is causing the inaccuracy.
My workaround is to calculate the relevant camera values from the projection matrix on the first AR render frame and apply that back to the camera component. The code can be seen here in xr-manager.js.
Wrapping up
If you have reached here, thank you very much for reading and we hope you have found some useful takeaways that you can use in your own projects!
Useful links:
We would love to get your thoughts and feedback so come join the conversation on the PlayCanvas forum!