4 posts tagged with "demo"

View All Tags

Implementing Cloth Simulation in WebGL

· 4 min read
Ray Tran
Software Engineer

The PlayCanvas WebGL game engine integrates with ammo.js - a JavaScript/WebAssembly port of the powerful Bullet physics engine - to enable rigid body physics simulation. We have recently been working out how to extend PlayCanvas’ capabilities by using soft body simulation. The aim is to allow developers to easily set up characters to use soft body dynamics.

Here is an example of a character with and without soft body cloth simulation running in PlayCanvas:

RUN FULLSCREEN

Want to know how it was done? Read on!

Step 1: Create a soft body dynamics world

By default, PlayCanvas' rigid body component system creates an ammo.js dynamics world that only supports generic rigid bodies. Cloth simulation requires a soft body dynamics world (btSoftRigidDynamicsWorld). Currently, there's no easy way to override this, so for the purpose of these experiments, a new, parallel soft body dynamics world is created and managed by the application itself. Eventually, we may make the type of the internal dynamics world selectable, or maybe even allow multiple worlds to be created, but for now, this is how the demo was structured.

Step 2: Implement CPU skinning

PlayCanvas performs all skinning on the GPU. However we need skinned positions on CPU to update the soft body anchors (btSoftBody::Anchor) to match the character's animation. CPU skinning may be supported in future PlayCanvas releases.

Step 3: Patch shaders to support composite simulated and non-simulated mesh rendering

Soft body meshes will generate vertex positions and normal data in world space, so in order to render the dynamically simulated (cloth) parts of character meshes correctly, we have to patch in support by overriding the current PlayCanvas vertex transform shader chunk. In a final implementation, no patching should be necessary, as we would probably add in-built support for composite simulated and non-simulated mesh rendering.

Step 4: Implement render meshes to soft body meshes conversion

PlayCanvas character meshes cannot be used directly by the soft body mesh creation functions (btSoftBodyHelpers::CreateFromTriMesh) and so require some conversion, so the PlayCanvas vertex iterator was used to access and convert the mesh data. Eventually this conversion could be done on asset import into the PlayCanvas editor.

Step 5: Implement per-bone attachments

PlayCanvas currently doesn't have a way to attach objects to specific character bones via the Editor (it's on our roadmap for the coming months!). Therefore, per-bone attachments was implemented in order to attach simplified rigid body colliders to different parts of the character to prevent the cloth from intersecting the character mesh. We are using simplified colliders instead of trying to use the full skinned character mesh because it runs much faster.

If you are feeling adventurous, you can find the prototype source code for the example above in this PlayCanvas project:

https://playcanvas.com/project/691109/overview/cloth-simulation-demo

It is a prototype implementation and so expect many changes (some of which are mentioned above) in a final implementation.

Want to try soft body dynamics on your own character? Here's how:

Step 1: Fork the PlayCanvas prototype project.

Step 2: Mark out what parts of the character you want simulated:

This is done by painting colors into the character mesh vertices - the example character was downloaded from Mixamo, and imported into Blender:

Black = fully simulated, White = not simulated

Step 3: Import the character into the PlayCanvas editor and set up collision:

On this character, only colliders for the legs and body are needed.

What's Next?

We are really excited about developing this technology in the coming months. We will focus on these areas:

  • Take learnings from the prototype and add good support for soft body dynamics in PlayCanvas
  • Create easy to use tools for PlayCanvas developers to import and setup characters with soft body dynamics
  • Further optimize and improve quality

We would love to get your thoughts and feedback so come join the conversation on the PlayCanvas forum!

Arm and PlayCanvas Open Source Seemore WebGL Demo

· 2 min read

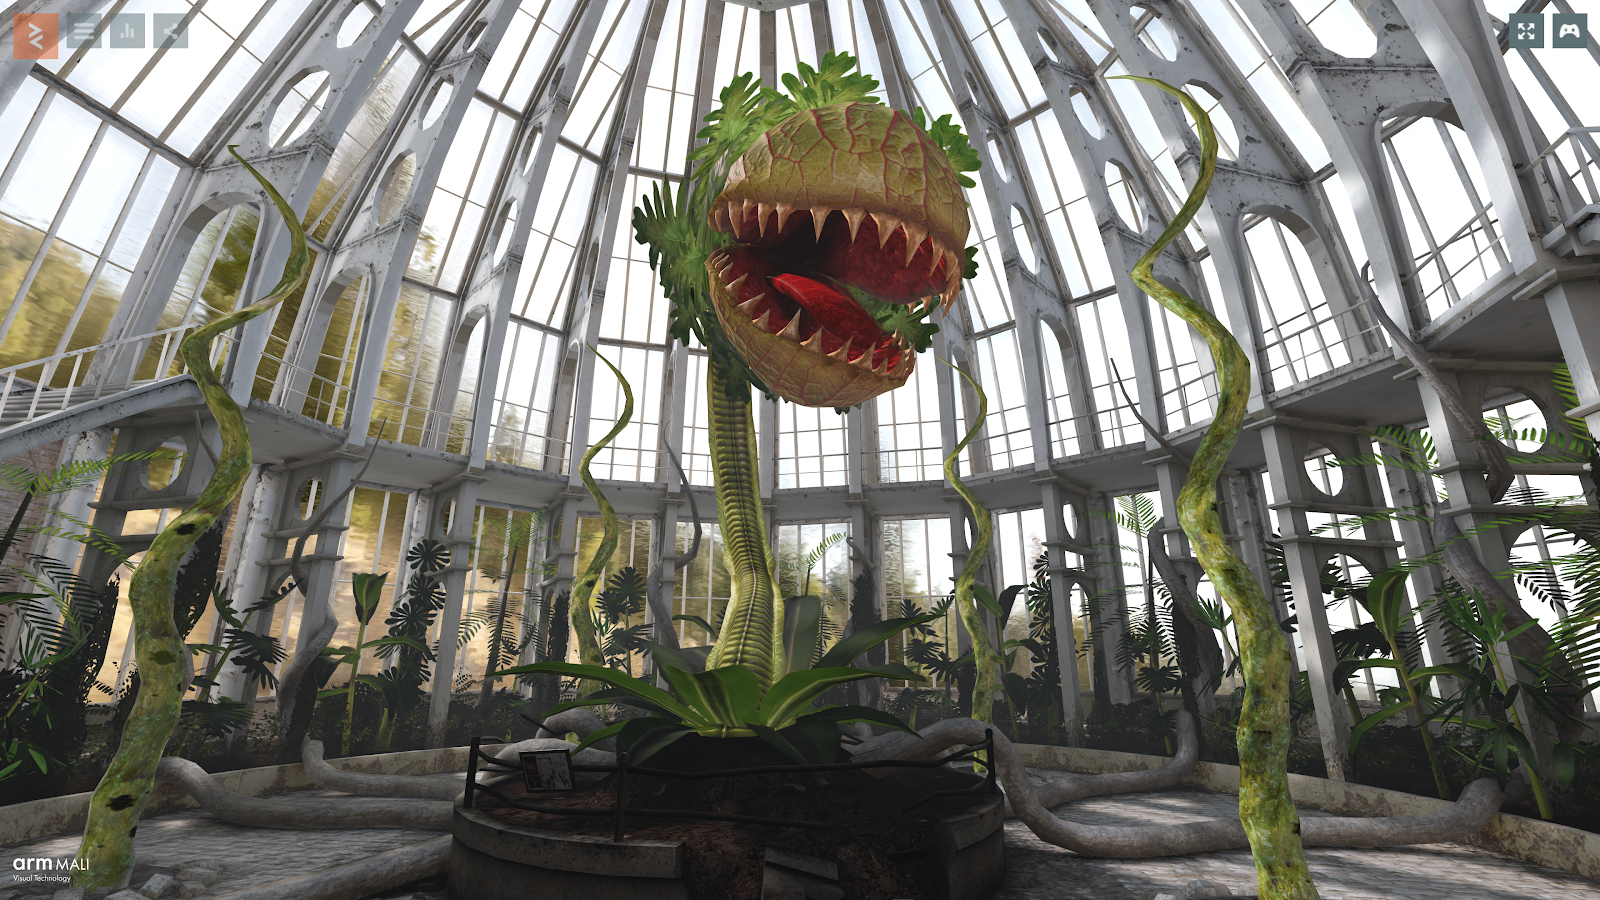
Cambridge/Santa Monica, August 1 2019 - Arm and PlayCanvas are announcing the open sourcing of the renowned Seemore WebGL demo. First published in 2016, the graphical technical demo has been completely rebuilt from the ground up to deliver even more incredible performance and visuals. With it, developers are empowered to build their projects in the most optimized way, as well as using it to incorporate some of its performant features and components into their own projects.

Seemore Demo

PLAY NOW

EXPLORE PROJECT

“I’m so excited to be relaunching the Seemore demo. Open sourcing it in partnership with Arm will bring a host of benefits to the WebGL development community,” said Will Eastcott, CEO of PlayCanvas. “It’s an incredible learning resource that provides many clean, easy to follow examples of some very advanced graphical techniques. Sharing this project publicly is going to help move web graphics forwards for everybody.”

“PlayCanvas and Arm have always strived to push the boundaries of graphics and the original demo is a testament to that,” said Pablo Fraile, Director of Developer Ecosystems at Arm. “It’s encouraging to see how PlayCanvas have advanced mobile web rendering performance since the original demo. This re-release provides a unique resource into graphics for the mobile web that is both easy to follow and incorporate into your own projects.”

The Seemore demo was originally created as a graphical showcase for the mobile browser and takes full advantage of Arm Mali GPUs. It has been upgraded to utilize the full capabilities of WebGL 2, the latest iteration of the web graphics API. Some of the main features of the demo include:

  • Physical shading with image based lighting and box-projected cube maps.
  • Stunning refraction effects.
  • HDR lightmaps.
  • Interpolated pre-baked shadow maps as a fast substitute for real time shadow-mapping.
  • ETC2 texture compression to ensure that highly detailed textures occupy only a small amount of system memory.
  • Draw call batching.
  • Asynchronous streaming of assets to ensure the demo loads in mere seconds (approximately 5x faster than the original version).
  • Fully GPU-driven mesh animation.

Seemore Demo

Mozilla Launches WebGL 2 with PlayCanvas

· 2 min read

Today is a huge milestone for real-time graphics on the web. Mozilla has launched Firefox 51, the first browser to bring WebGL 2 to the masses. WebGL has been around since 2011, the year when PlayCanvas was founded. 6 years on, the open standard for web graphics has taken a huge leap forwards, exposing far more GPU capabilities to developers, making for ever richer, more beautiful experiences.

To mark the launch of WebGL 2, Mozilla and PlayCanvas have teamed up to build 'After the Flood'.

EXPERIENCE 'AFTER THE FLOOD' NOW

'After the Flood' illustrates many of the key, new aspects of WebGL 2.

  • Transform feedback: to animate leaf particles on the GPU.
  • 3D Textures: used to create procedural clouds.
  • HDR rendering with MSAA: for correct blending of antialiased HDR surfaces.
  • Hardware PCF: for better shadow filtering at a lower cost.
  • Alpha to coverage: to render antialiased foliage.
  • ...and much more.

So how was all of this done? As you know, PlayCanvas is an open source game engine. All of the work to integrate WebGL 2 into the engine can be found on GitHub.

Other key demo features are:

  • Compressed textures: DXT, PVR and ETC1 are used to reduce VRAM usage.
  • Asynchronous asset streaming: to get the demo loading faster.
  • Runtime lightmap baking: to generate realistic shadows that render fast.
  • Procedural water ripples
  • Planar mirrors

As you can see, PlayCanvas is all about squeezing the full potential from the browser. PlayCanvas apps, like 'After the Flood', look beautiful, load fast and perform great.

So what's next? First, we will refactor and merge our WebGL 2 work into PlayCanvas' mainline codebase. Then we will enable 'After the Flood' on mobile. And finally, we will make the demo project public so you can see exactly how we made it:

After the Flood

Want to get creative with WebGL yourself?  Why not get started with PlayCanvas today?